Inventory
The Inventory Module helps you manage and track your stock, warehouses, product locations, and stock movements efficiently. It supports real-time updates, multiple warehouses, and automated operations like replenishment and internal transfers.
Home Screen → Click on the Inventory Module from the main Odoo dashboard.
You’ll see the Inventory Overview with key menus like:
● Operations (Transfers, Receipts, Delivery Orders)
● Master Data (Products, Locations)
● Reporting
● Configuration
Configuration
Warehouse
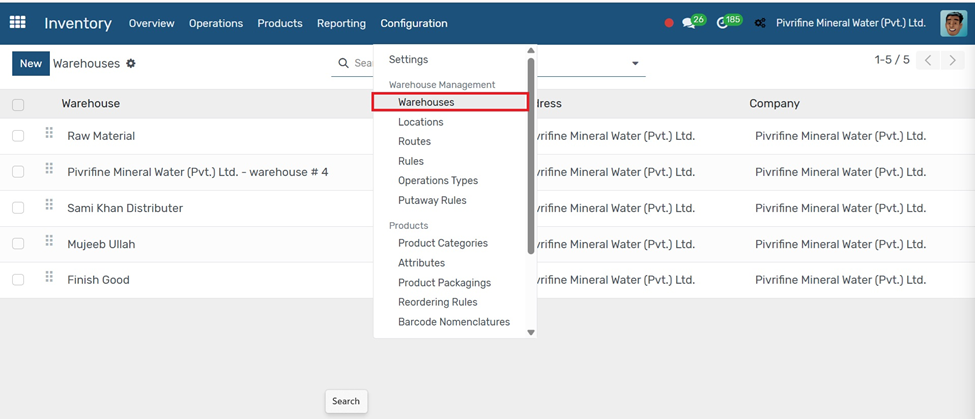
Go to Inventory → Configuration → Warehouses.
1. Click the Create button.
2. Enter the Warehouse Name and Short Code.
3. Set the Address, Company, and other settings.
4. Click Save to create the warehouse
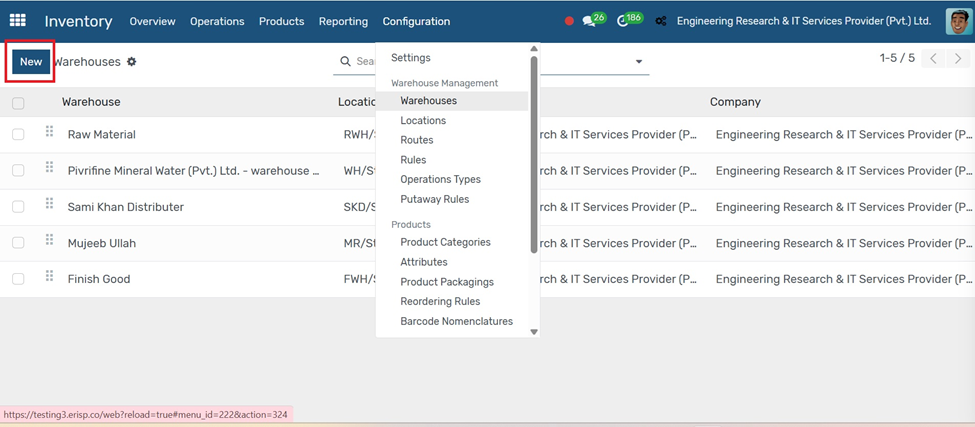
In Inventory configuration tab warehouses click on NEW
Go to Inventory → Configuration → Warehouses and click Create.
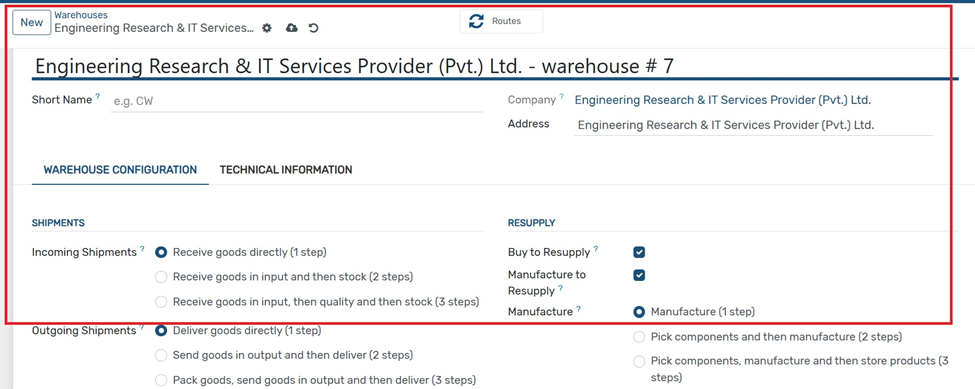
Fill in the key fields:
● Short Name: Internal warehouse code (e.g., WH1)
● Company & Address: Auto-filled from system
● Incoming Shipments: Choose 1-step, 2-step, or 3-step receiving method
● Outgoing Shipments: Choose delivery process
● Resupply Options: Enable resupply via buying or manufacturing
● Manufacture Steps: Choose 1 to 3 steps for internal production process
Use this form to configure how goods are received, delivered, and resupplied in your warehouse.
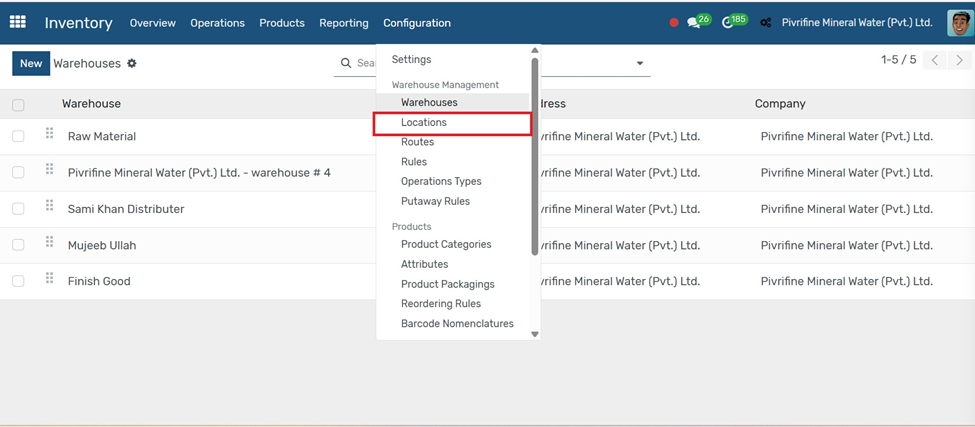
Location
Go to Inventory → Configuration → Locations.
1. Click the Create button.
2. Enter the Location Name.
3. Select the Location Type (e.g., Internal, Vendor, Customer).
4. Set the Parent Location if it's part of a warehouse structure.
5. Fill in additional details like company and barcode (optional).
Click Save to create the location.
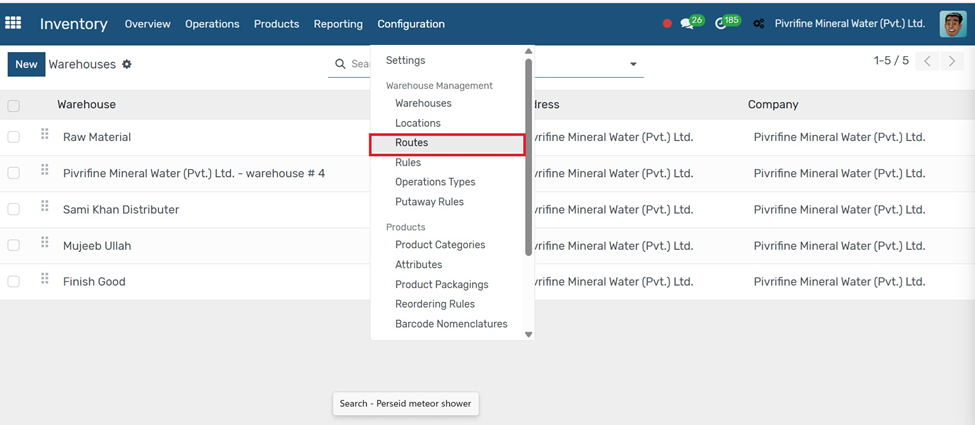
Routes
Go to Inventory → Configuration → Routes.
1. Click the Create button.
2. Enter the Route Name (e.g., Buy, Manufacture, Drop Ship).
3. Under the Applicable On section, choose whether the route applies to Products, Product Categories, or Warehouses.
4. In the Rules tab, add a new rule to define actions (e.g., Pull From, Push To, Manufacture, Buy).
5. Set the operation type, source location, and destination location as needed.
Click Save to apply the route.
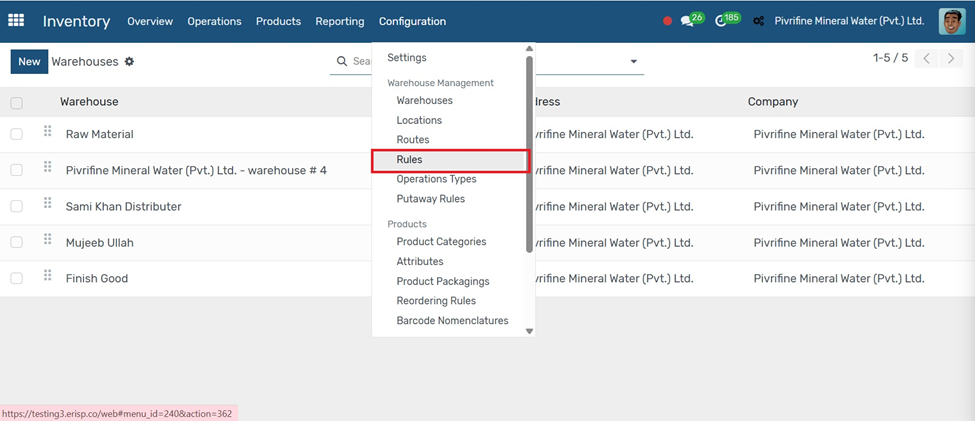
Rules
Go to Inventory → Configuration → Rules.
1. et the Action (e.g., Pull From, Push To, Manufacture, Buy).
2. Choose the Operation Type (e.g., Delivery Orders, Receipts).
3. Define the Source Location and Destination Location.
4. Set Delay or Company if needed.
5. Click Save & Close, then Save the route.
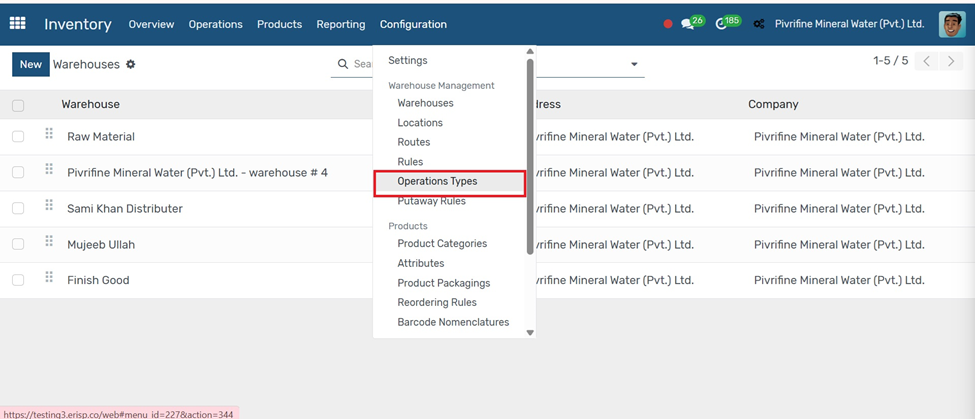
Operation Types
Go to Inventory → Configuration → Operation Types.
1. Click the Create button to add a new operation type.
2. Enter the Name (e.g., Internal Transfer, Delivery Order, Receipt).
3. Set the Type of Operation (Receipt, Delivery, Internal Transfer, etc.).
4. Choose the Default Source Location and Destination Location.
5. Set additional settings like Barcode, Reservation Method, or Company (if applicable).
6. Click Save to apply the changes.
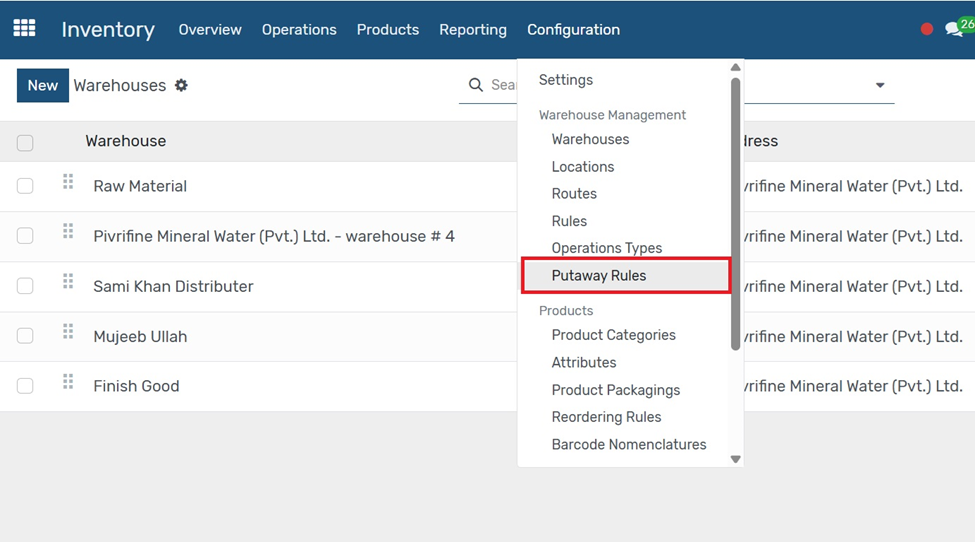
Putaway Rules
Go to Inventory → Configuration → Putaway Rules.
1. Click the Create button.
2. Select the Product or Product Category for which the rule applies.
3. Choose the Source Location (e.g., WH/Stock).
4. Set the Destination Location where the item should be stored automatically.
5. Choose a Putaway Strategy (e.g., Fixed Location, FIFO).
6. Click Save to activate the rule.
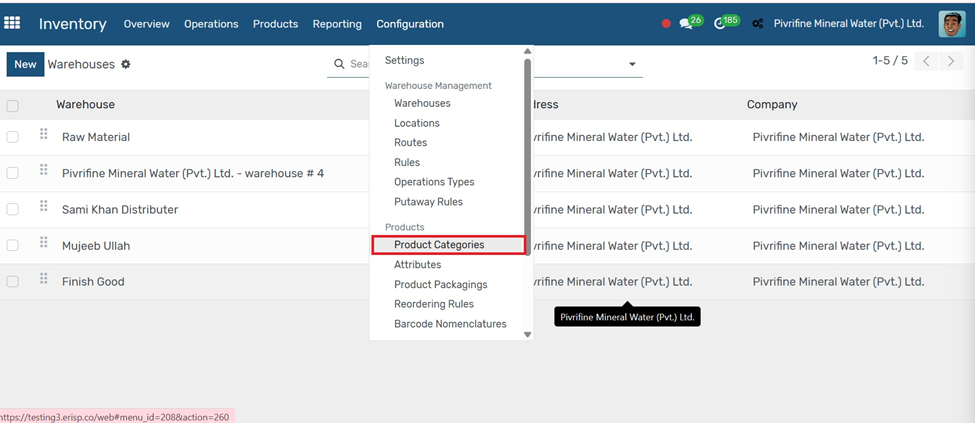
Product Categories
Go to Inventory → Configuration → Product Categories.
1. Click the Create button.
2. Enter the Category Name (e.g., Raw Materials, Finished Goods).
3. Set a Parent Category if needed to create a hierarchy.
4. Configure Inventory, Accounting, and Valuation settings if required.
Click Save to create the product
category.
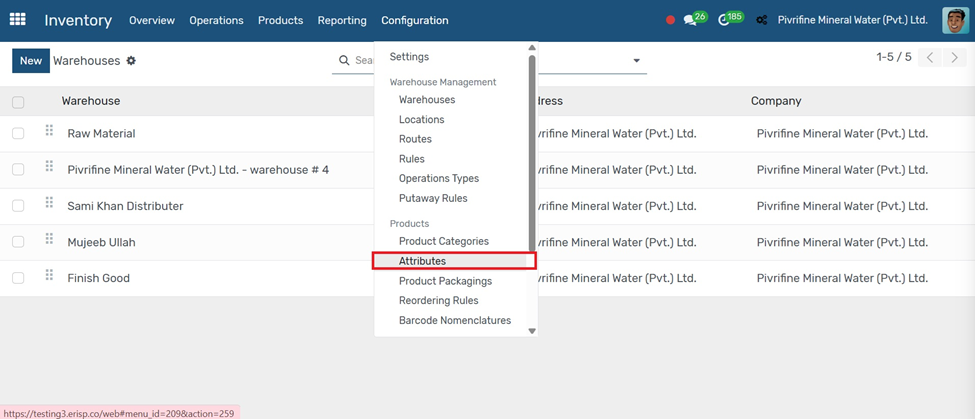
Product Attributes
Go to Inventory → Configuration → Attributes.
1. Click the Create button.
2. Enter the Attribute Name (e.g., Color, Size, Material).
3. Choose the Display Type (Radio Buttons, Dropdown, etc.).
4. Under Attribute Values, click Add a Line to enter possible values (e.g., Red, Blue).
5. Click Save to create the attribute
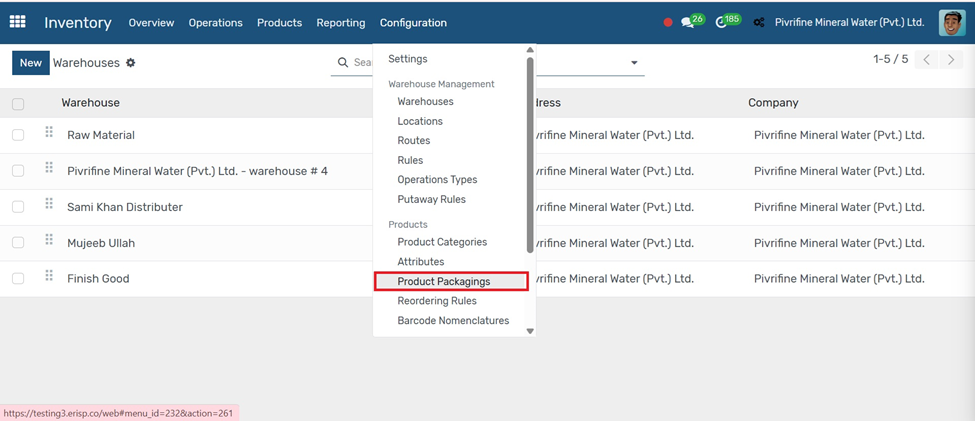
Products Packaging
Go to Inventory → Configuration → Products Packaging.
1. Open the product you want to add packaging for.
2. Go to the Inventory tab.
3. Under the Packaging section, click Add a Line.
4. Enter the Packaging Type (e.g., Box, Pallet), Quantity per Package, and Barcode if applicable.
Click Save & Close, then Save the product.
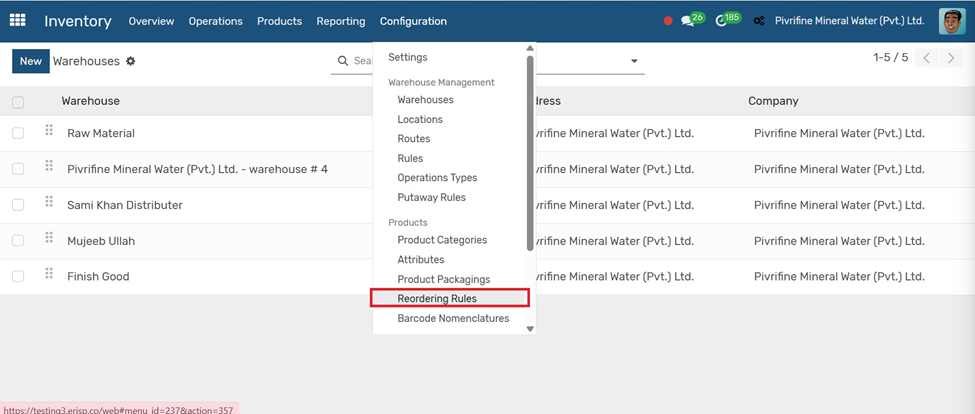
Reordering Rules
Go to Inventory → Configuration → Reordering Rules.
Open the product you want to set a rule for.
Click the Reordering Rules smart button (or go to Inventory → Configuration → Reordering Rules).
1. Click Create.
2. Set the Minimum Quantity (when stock drops to this level, Odoo triggers a reorder).
3. Set the Maximum Quantity and Quantity Multiple (optional).
4. Choose the Location and Company (if applicable).
5. Click Save.
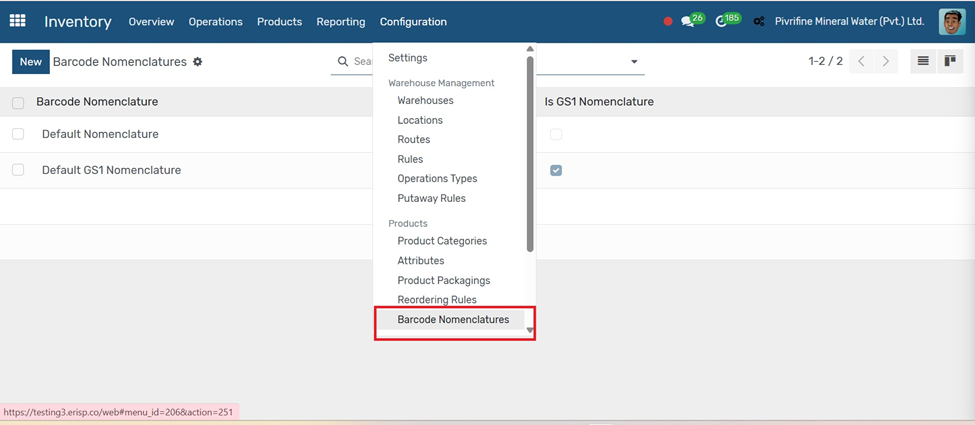
Barcode Nomenclatures
Go to Inventory → Configuration → Barcode Nomenclatures.
1. Click the Create button to define a new nomenclature.
2. Enter the Name (e.g., Standard EAN-13).
3. Under the Rules tab, click Add a Line to set:
○ Rule Name
○ Encoding Type (e.g., EAN-13)
○ Barcode Pattern (e.g., 23% for products, 24% for locations)
○ Associated Model (Product, Location, Lot, etc.)
4. Set priority if multiple rules exist.
5. Click Save to activate the nomenclature.
-
Barcode Nomenclatures
define how barcodes are interpreted and routed in Odoo
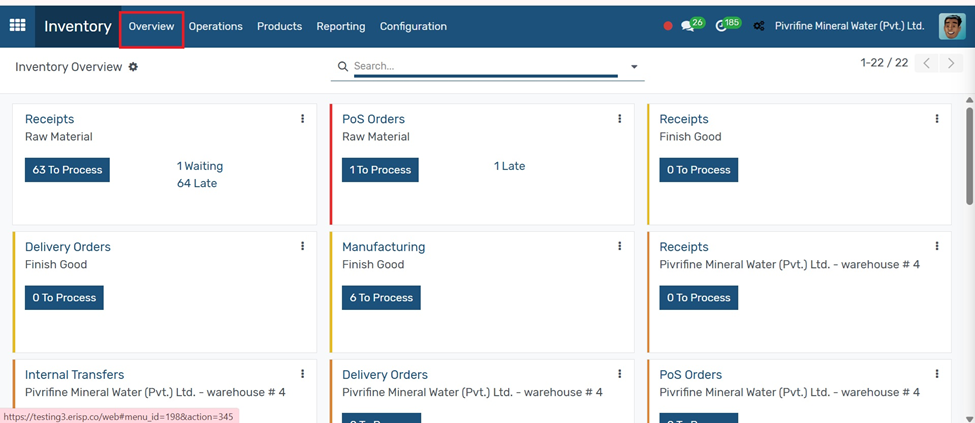
Overview
In Inventory → Overview → To see and manage all types of operations like Receipts, Internal Transfers, and delivery orders
1. Go to the Inventory module from the main Odoo dashboard.
2. From the overview screen, choose an action:
○ Receipts to manage incoming products
○ Delivery Orders to ship goods to customers
○ Internal Transfers to move stock between locations
3. Use the Products menu to manage items and stock levels.
4. Check the Reporting menu for stock valuation and performance.
5. Use Inventory Adjustments to correct stock levels when needed.
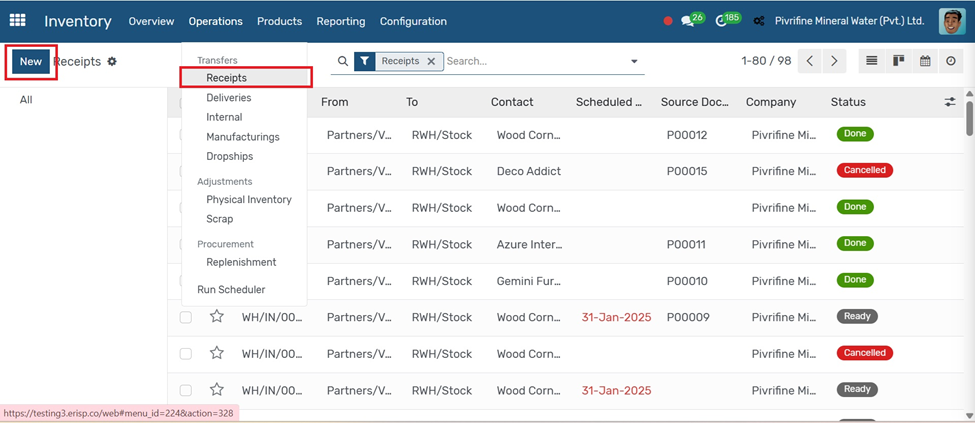
Operations
Receipts
Go to Inventory → Operations → Receipts.
1. Click the Create button.
2. Select the Vendor and related Purchase Order (if available).
3. The products and quantities will auto-fill from the PO.
4. Review the Source Location (Vendor) and Destination Location (Your Stock).
5. Click Validate to confirm the receipt and update stock.
Deliveries
Go to Inventory → Operations → Deliveries.
1. Click the Create button.
2. Select the Customer and link it to a Sales Order (if available).
3. The product lines will auto-fill based on the order.
4. Confirm the Source Location (Your Stock) and Destination (Customer).
5. Click Validate to confirm the delivery and reduce stock.

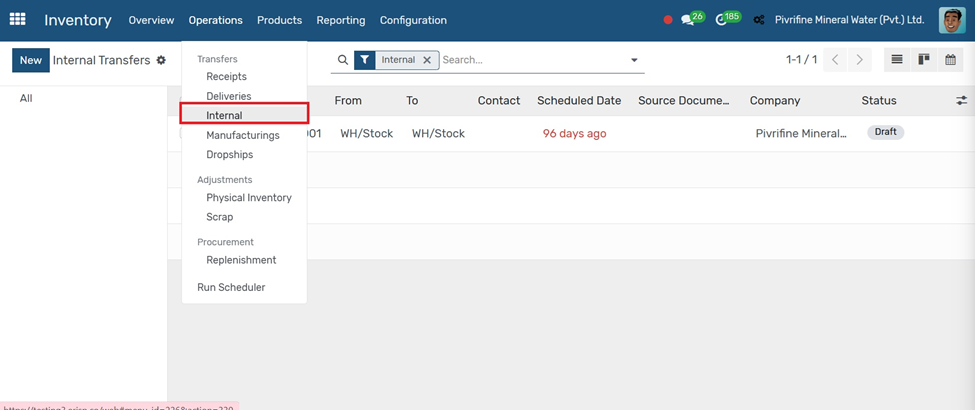
Internal
Go to Inventory → Operations → Internal.
1. Click the Create button.
2. Set the Transfer Type to Internal Transfer.
3. Choose the Source Location (e.g., WH/Stock) and Destination Location (e.g., WH/Shelf 1).
4. Add the Product, Quantity, and any notes if needed.
5. Click Mark as To Do, then Validate to complete the move.
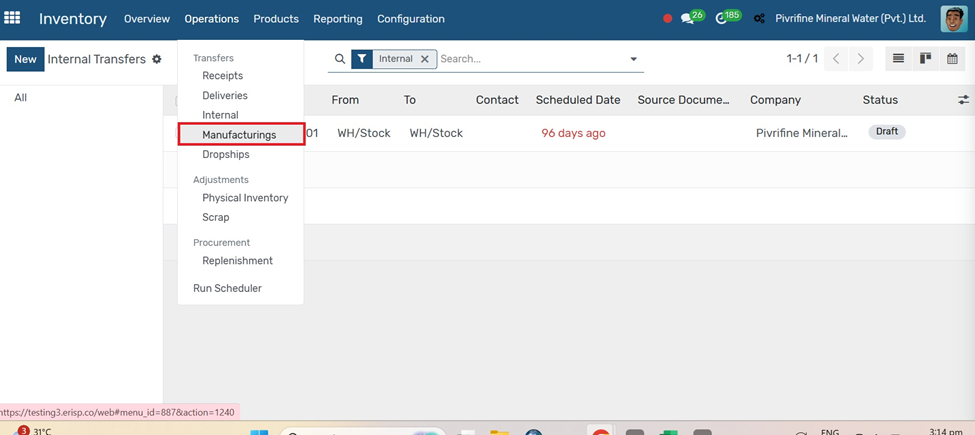
Manufacturing
Go to the Manufacturing module (Manufacturing → Operations → Manufacturing Orders).
1. Click the Create button.
2. Select the Finished Product you want to manufacture.
3. Enter the Quantity to produce.
4. Choose the Bill of Materials (BoM) — it lists raw materials and steps.
5. Confirm Source Location (raw materials) and Destination Location (finished goods).
6. Click Confirm, then Mark as Done to complete the manufacturing.
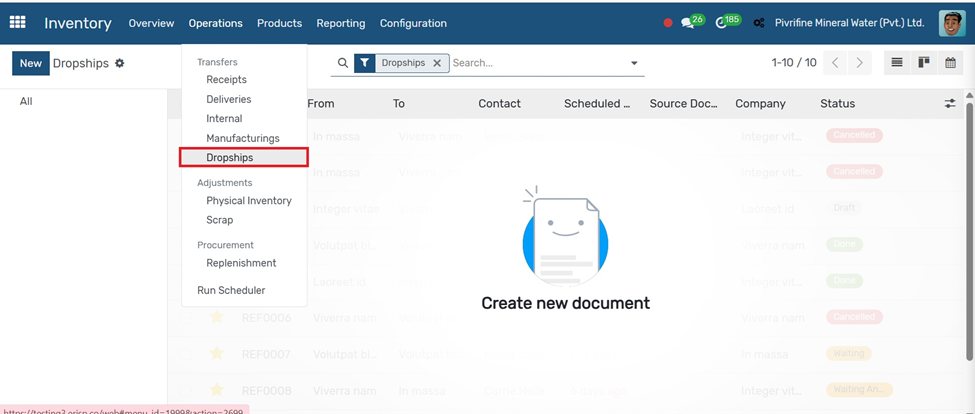
Go to Inventory → Configuration → Drop Shipping.
1. Activate Drop Shipping.
2. Click Save.
3. Drop shipping allows you to deliver products directly from your supplier to your customer
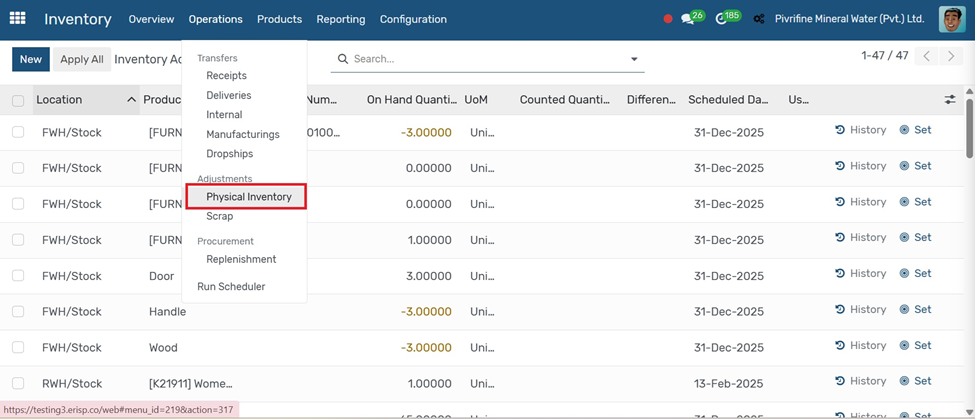
Inventory Adjustments
Go to Inventory → Operations → Inventory Adjustments.
1. Click the Create button.
2. Enter a name for the adjustment (e.g., “Physical Count - July”).
3. Select the Location where you’re counting (e.g., WH/Stock).
4. Choose Products manually or click Start Inventory to auto-fill current stock.
5. Enter the actual counted quantities in the Counted column.
6. Once verified, click Validate to update stock levels.
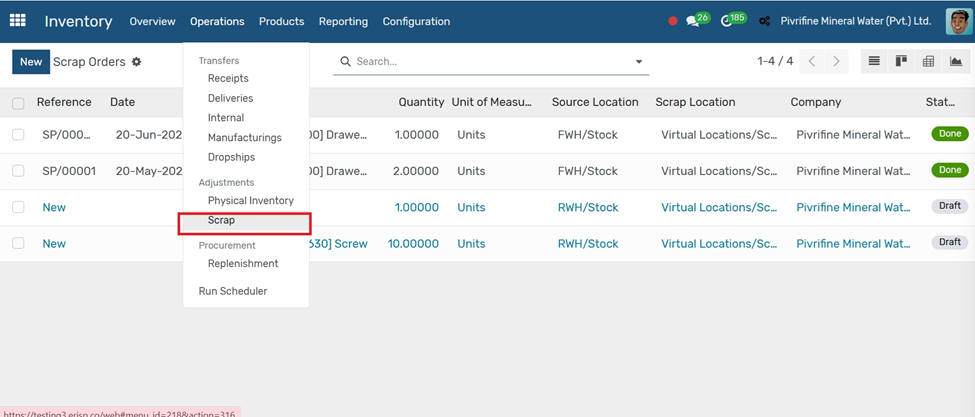
Scrap
1. Go to Inventory → Operations → Scrap.
1. Click the Create button.
2. Select the Product you want to scrap.
3. Enter the Quantity and Source Location (e.g., WH/Stock).
4. Choose the Scrap Location (usually WH/Scrap).
5. Click Validate to confirm the scrapping.
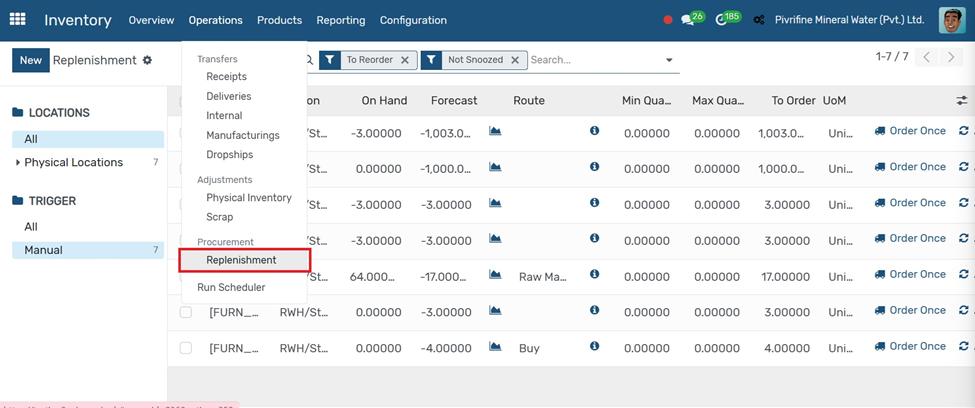
Replenishment
Go to Inventory → Operation → Replenishment.
1. Open the product you want to replenish.
2. Click the Replenish smart button at the top.
3. Enter the Quantity to replenish and choose the Location.
4. Click Confirm to generate a Purchase Order or Manufacturing Order depending on the product's route.
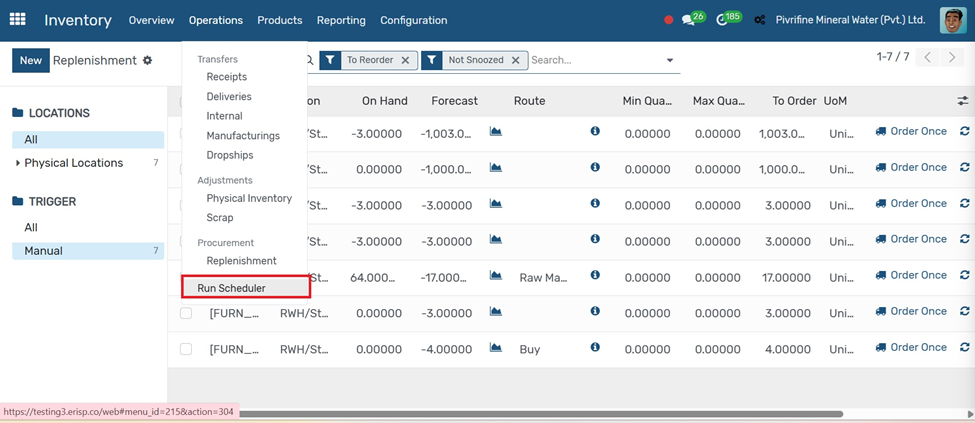
Run Scheduler
Go to Inventory → Operations → Run Scheduler.
1. Click the Run Scheduler button.
Odoo will automatically check stock levels and trigger Purchase Orders, Manufacturing Orders, or Transfers based on Reordering Rules and Routes
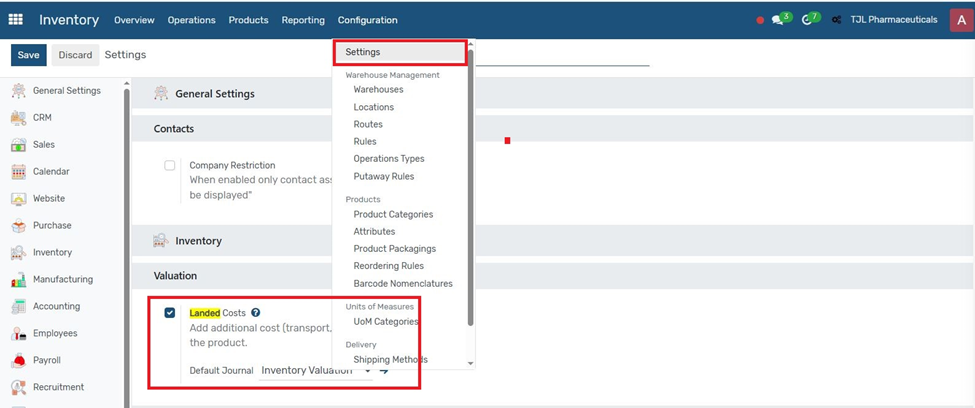
Landed Costs
Landed cost is the total cost of a product, including shipping, customs, and other expenses added to the product’s value.
1. Go to Inventory → Settings and enable "Landed Costs".
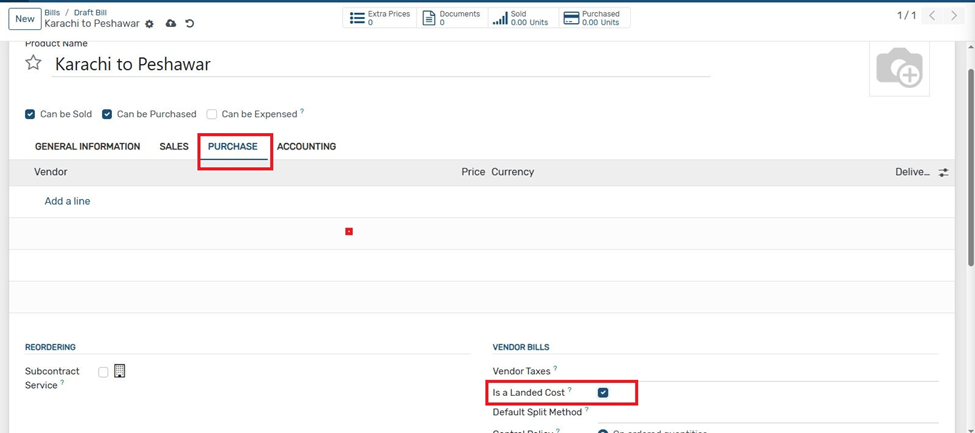
2. Create a product for landed cost with Product Type set as "Service".
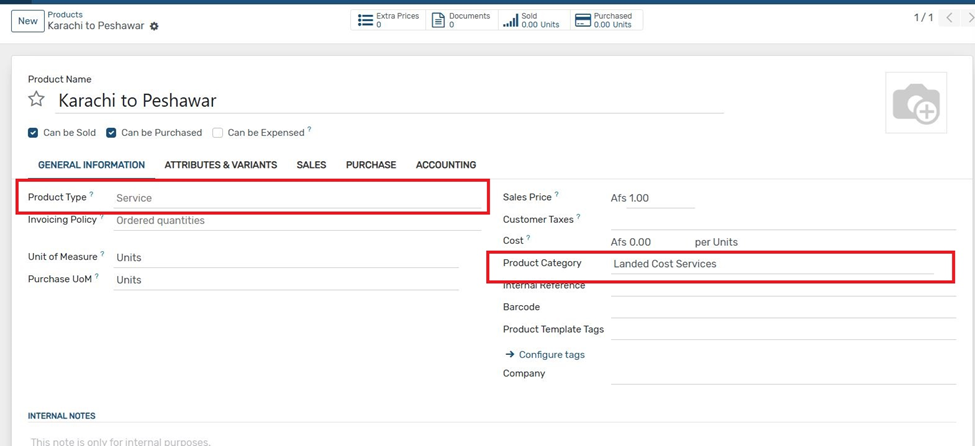
3.Assign a product category where the costing method is set to FIFO or Average.
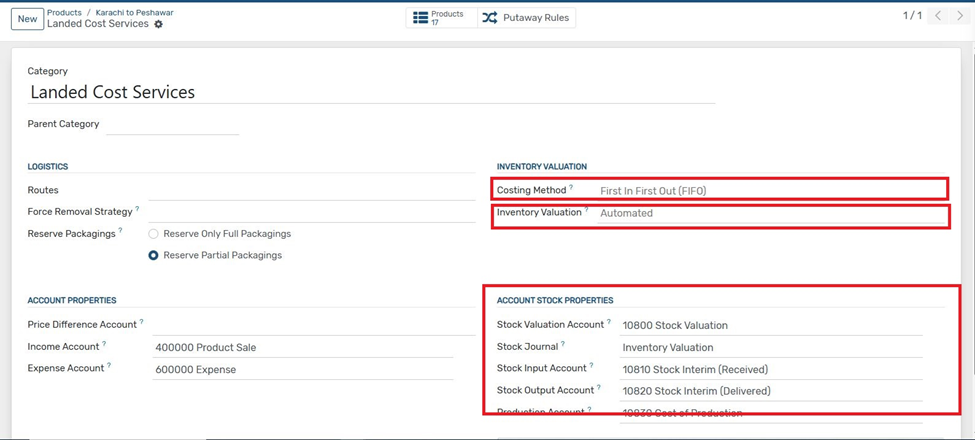
4. In the Purchase tab, check the option "Is a Landed Cost".
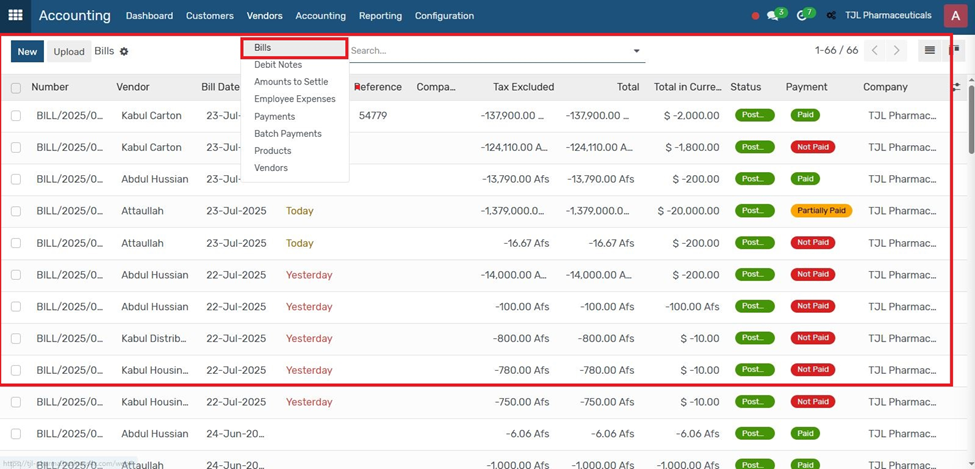
5. Go to Accounting → Vendor Bills and create a new bill.
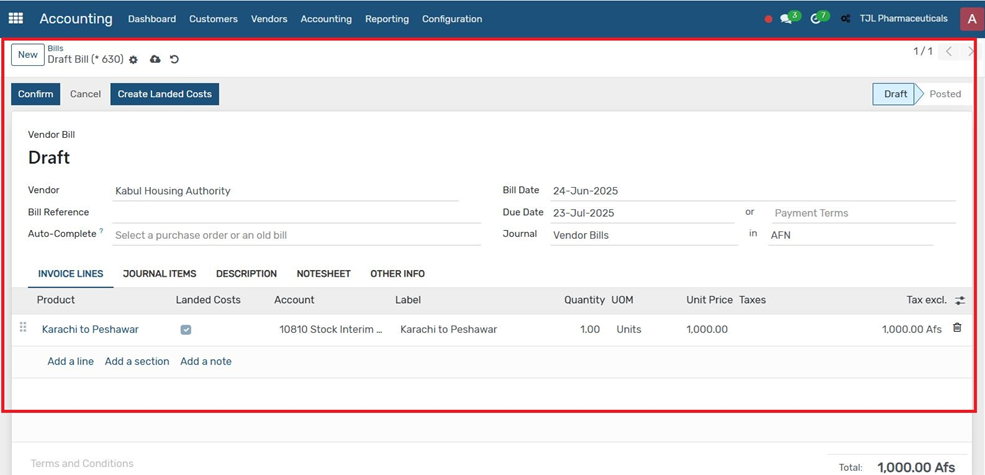
6. Select the landed cost product on the bill line.

7. Click "Confirm" to post the vendor bill. Click the "Create Landed Cost" button that appears.
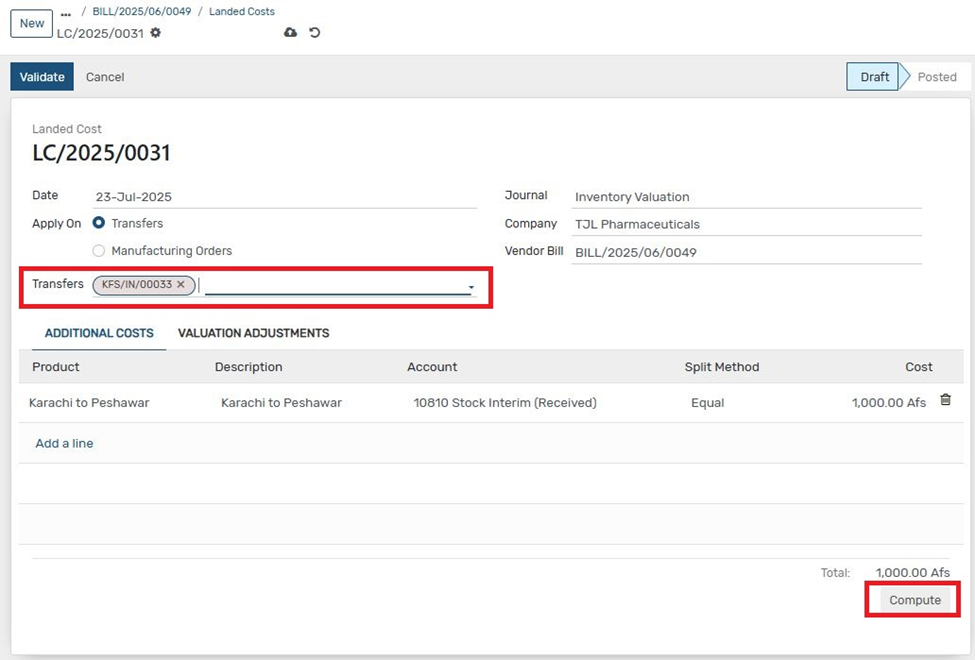
8. Select the GRN (Goods Receipt Note) related to the product you want to apply landed cost to.
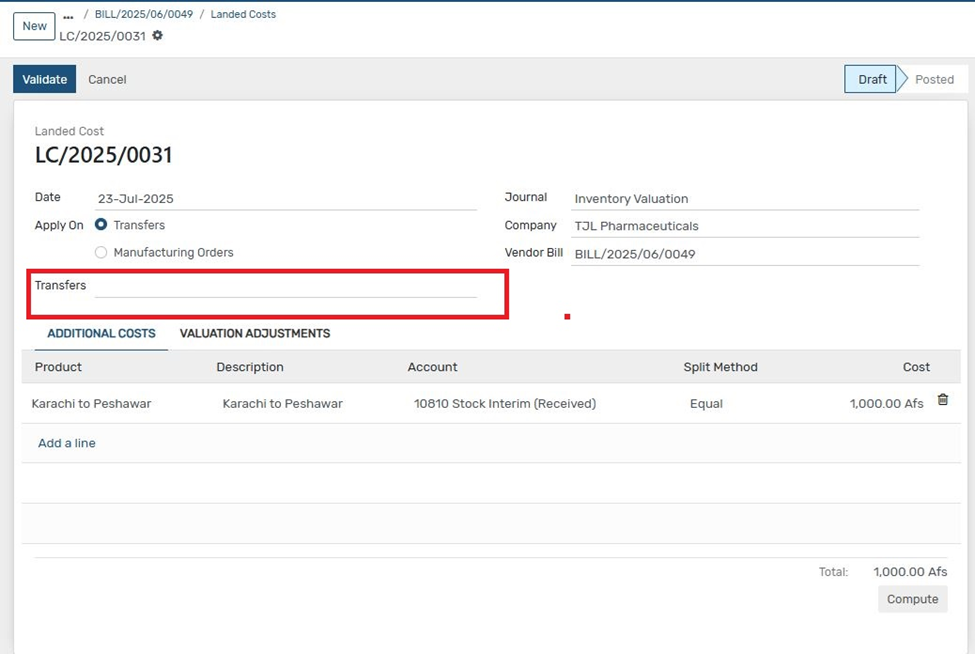
9. Click on "Compute" to calculate landed cost allocations
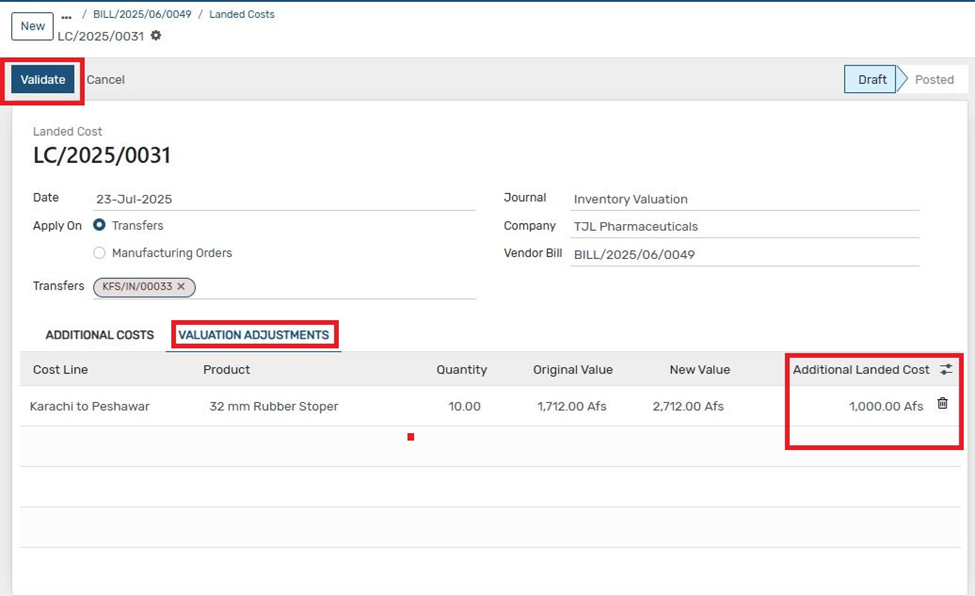
10. Go to the "Valuation Adjustment" tab to review the added cost values. Click "Validate" to finalize and post the landed cost accounting entry
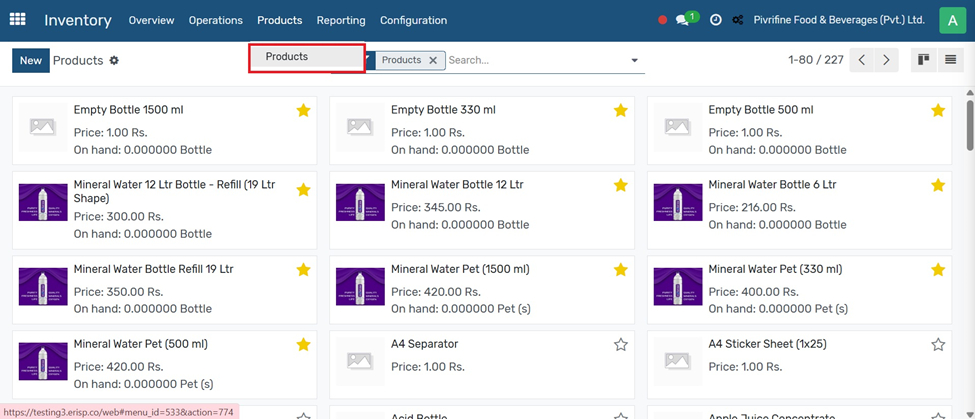
Products Menu
Go to Inventory → Products → Products and click Create.
Fill in the essential fields:
1. Product Name: Name of the item (e.g., Laptop Dell)
2. Product Type: Choose from Storable, Consumable, or Service
3. Category: Select the product category (e.g., All / Saleable)
4. Unit of Measure: Select how the product is measured (e.g., Units)
5. Sales/Purchase Tabs: Set sales price, cost, vendors, etc.
6. Inventory Tab: Add logistics, routes, packaging, etc.
This form allows you to define and manage your inventory items, how they are bought, sold, and stocked.
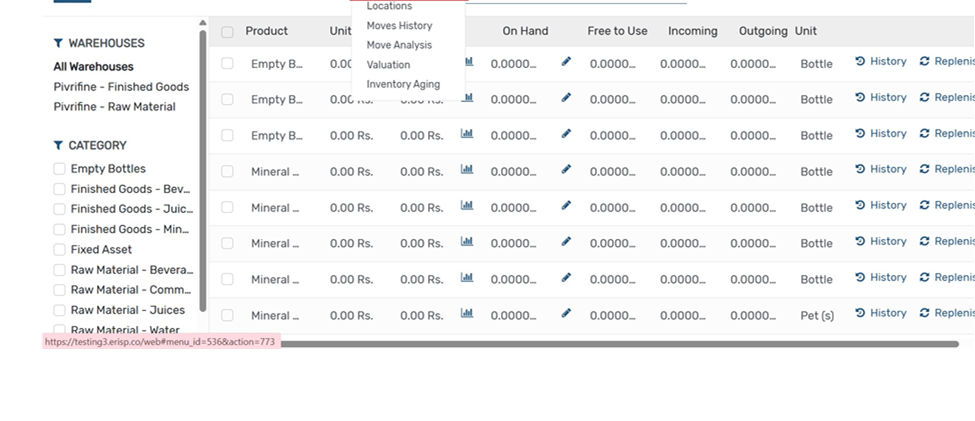
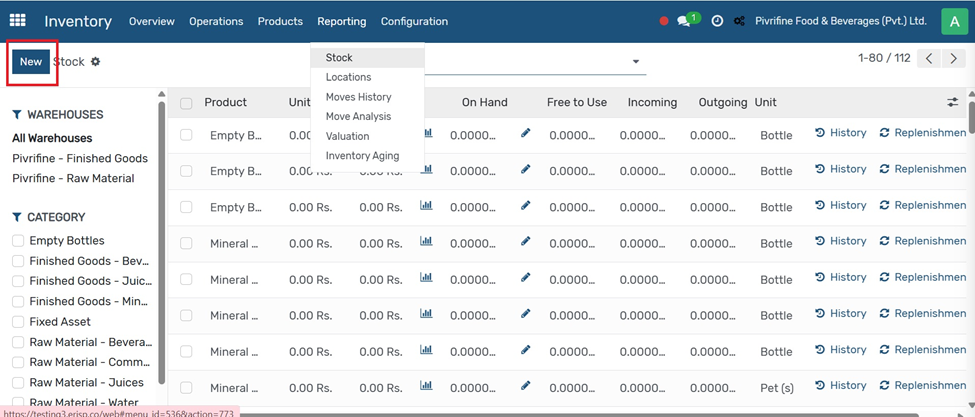
Reporting
Stock
From the main dashboard, click on the Inventory module. Navigate to Reporting Tab
At the top menu, click on the Reporting tab. You can manually record stock by creating a product entry.This is useful for initial stock input or manual inventory adjustments
Location
Go to Inventory select location from Reporting Tab
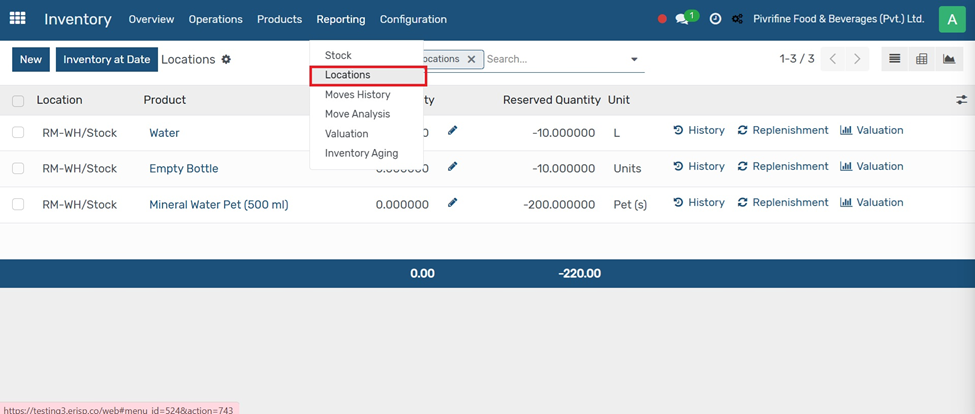
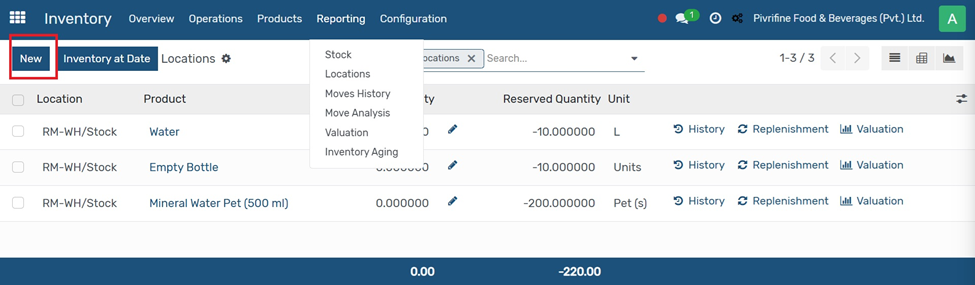
And then click on NEW
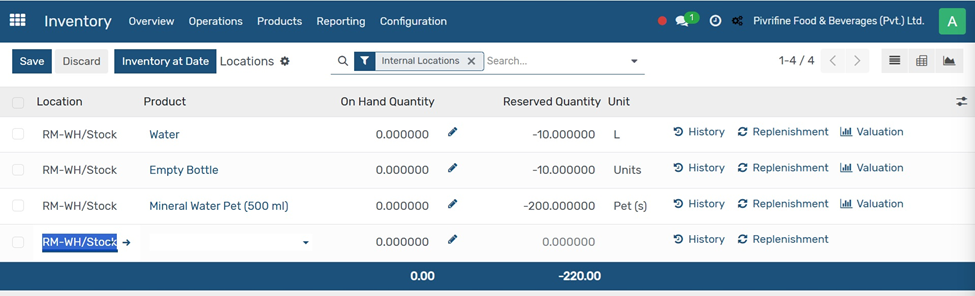
Purpose:
● Allows users to view stock levels for internal locations as of a specific date.
● Useful for backdated reporting, inventory audits, or comparing past inventory positions.
Main Fields:
● Location: Shows the internal warehouse location (e.g., RM-WH/Stock).
● Product: Lists all tracked products.
● On Hand Quantity: Editable if adjustments are needed.
● Reserved Quantity: Displays quantity already allocated to operations.
● Unit: Measurement unit (L, Units, Pet(s), etc.).
● Actions:
○ History: Shows stock move history.
○ Replenishment: Triggers restocking.
○ Valuation: Opens inventory value report.
Purpose:
● To track all stock movements (incoming, outgoing, internal transfers) related to a specific product or location.
How to Access:
● Go to Inventory → Reporting → Inventory at Date.
● Click on the “History” link next to a product line.
What It Shows:
● Product Name
● Source & Destination Locations
● Quantity Done
● Date of Movement
● Reference (e.g., PO, DO, MO)
This helps users audit how and when stock quantities changed.
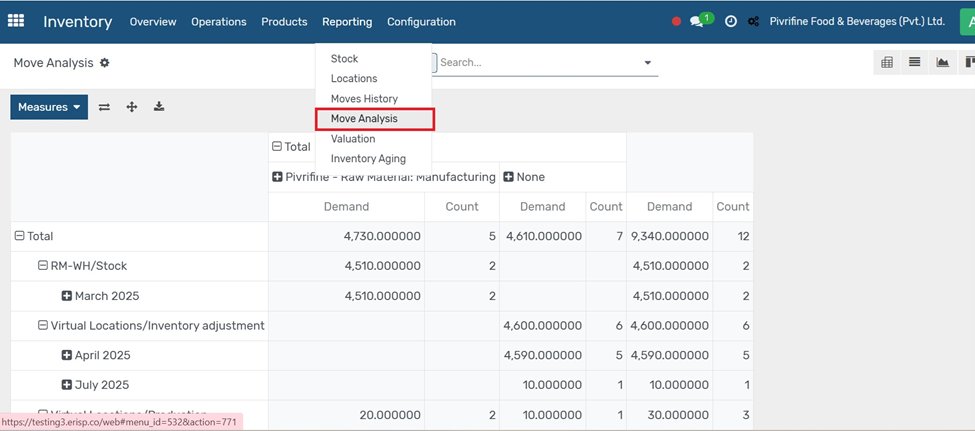
Purpose:
To analyze stock movement data such as product transfers, quantities moved, and source/destination locations.
How to Access:
Go to Inventory → Reporting → Moves Analysis.
Key Features:
● View stock moves by product, location, operation type, or date.
● Apply filters like Incoming, Outgoing, or Internal Transfers.
● Use group by to summarize data (e.g., by product or partner).
● Export reports for deeper analysis. This helps in monitoring inventory flow and optimizing warehouse performance.
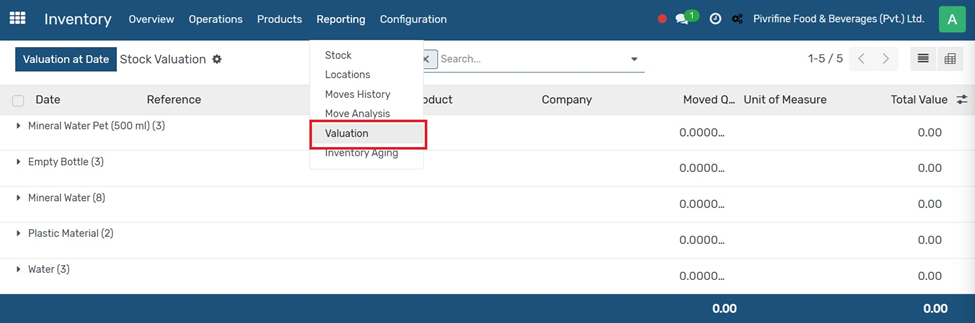
Go to Inventory Module Click on Valuation in Reporting Tab
Purpose:
To track the financial value of inventory based on stock movements and product costing methods.
How to Access:
Go to Inventory → Reporting → Valuation.
Key Features:
● Shows inventory value per product, category, or location.
● Displays on-hand quantity, unit cost, and total value.
● Useful for accounting, audits, and inventory control.
● Supports both automated and manual valuation methods.
This helps ensure that your inventory valuation matches your financial records.
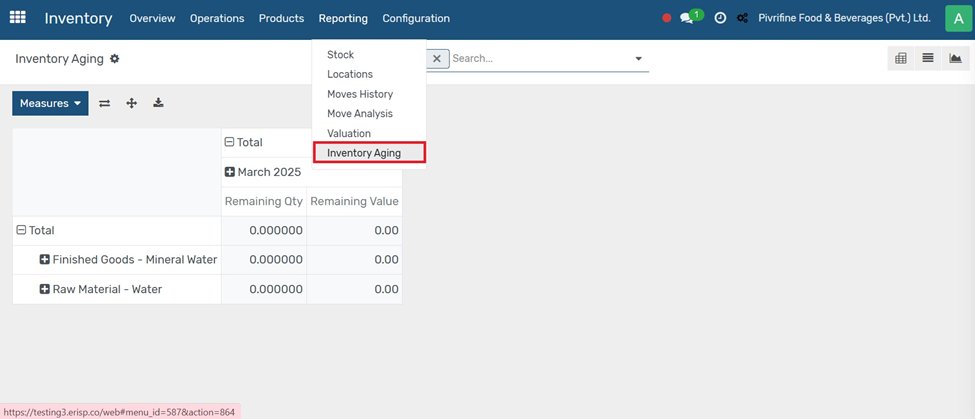
Go to Inventory module
Purpose:
To analyze how long inventory items have been in stock — helps manage slow-moving or obsolete products.
How to Access:
Go to Inventory → Reporting → Inventory Aging (if enabled or via custom reports).
Key Features:
● Breaks down products by age brackets (e.g., 0–30 days, 31–60 days, etc.).
● Helps identify old stock that may need to be discounted, replenished, or scrapped.
● Useful for improving stock rotation and reducing holding costs.
This report is essential for efficient inventory planning and avoiding excess stock.
Previous Purchase Next Manufacturing