Property
The Property Module enables users to efficiently manage individual properties or an entire portfolio from a centralized location. It offers a structured visual interface for monitoring property details, tenancy status, lease dates, maintenance history, and financials — simplifying property oversight and enhancing operational control.
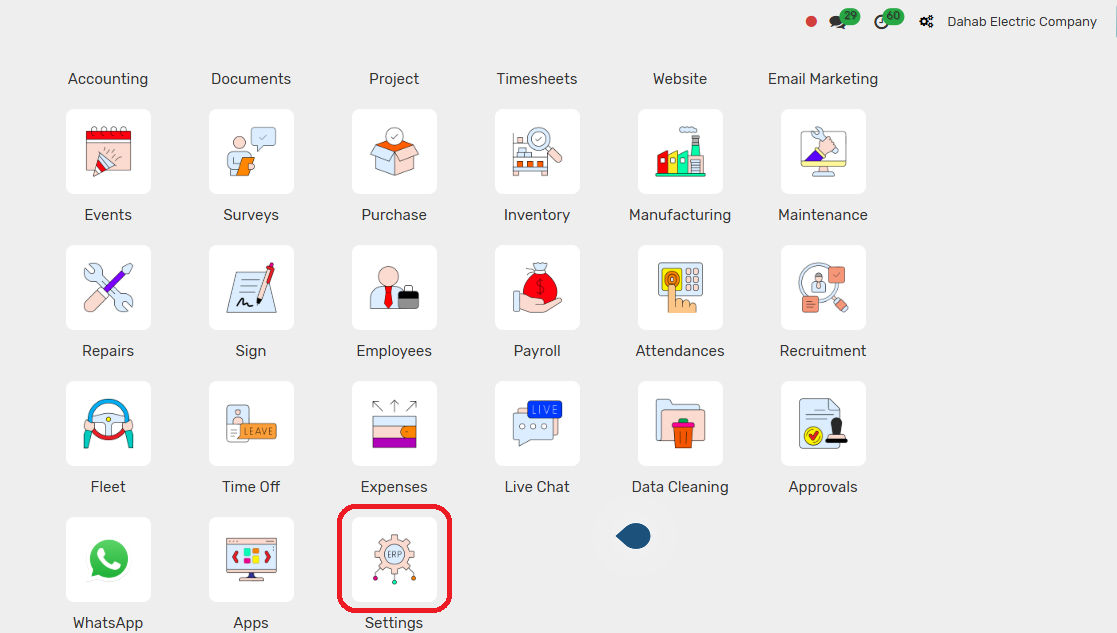
Go to the main dashboard of your ERP.
Click on the “Property” module icon.
Configurations
You have to complete certain configurations before creating the project and property.
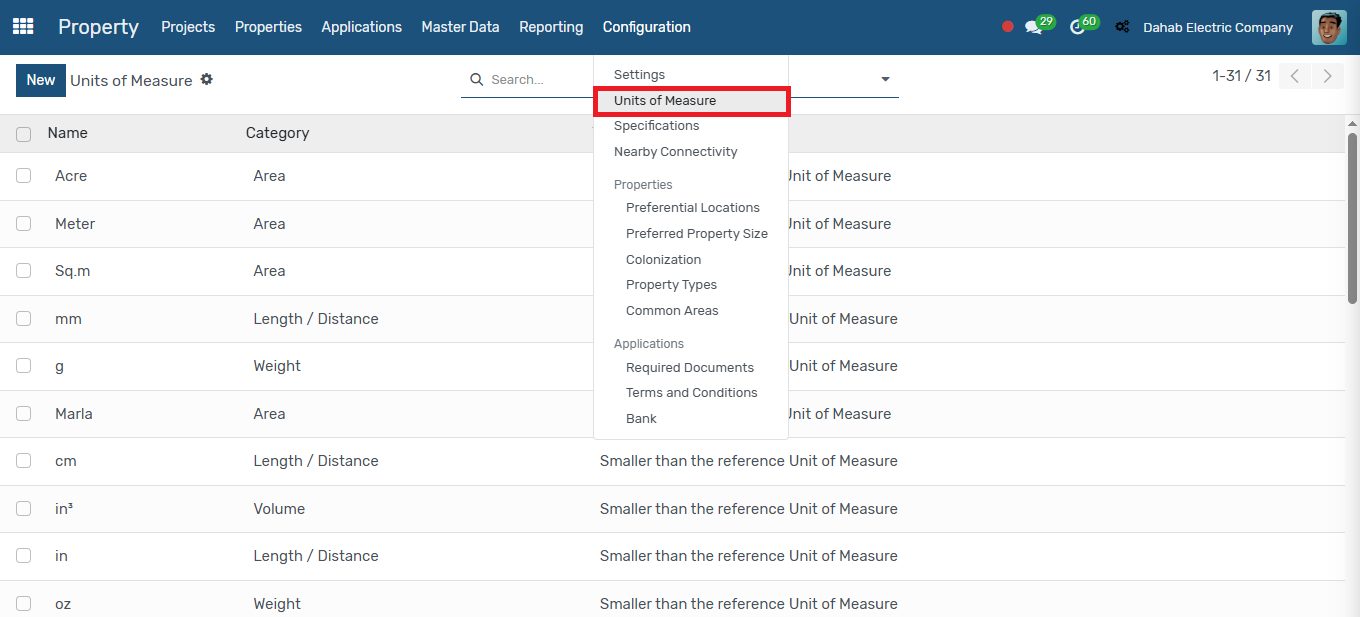
Unit of Measure
To configure the unit of measure, navigate to the Property module → Configurations → Unit of Measure, then click New, enter the name, and save it.
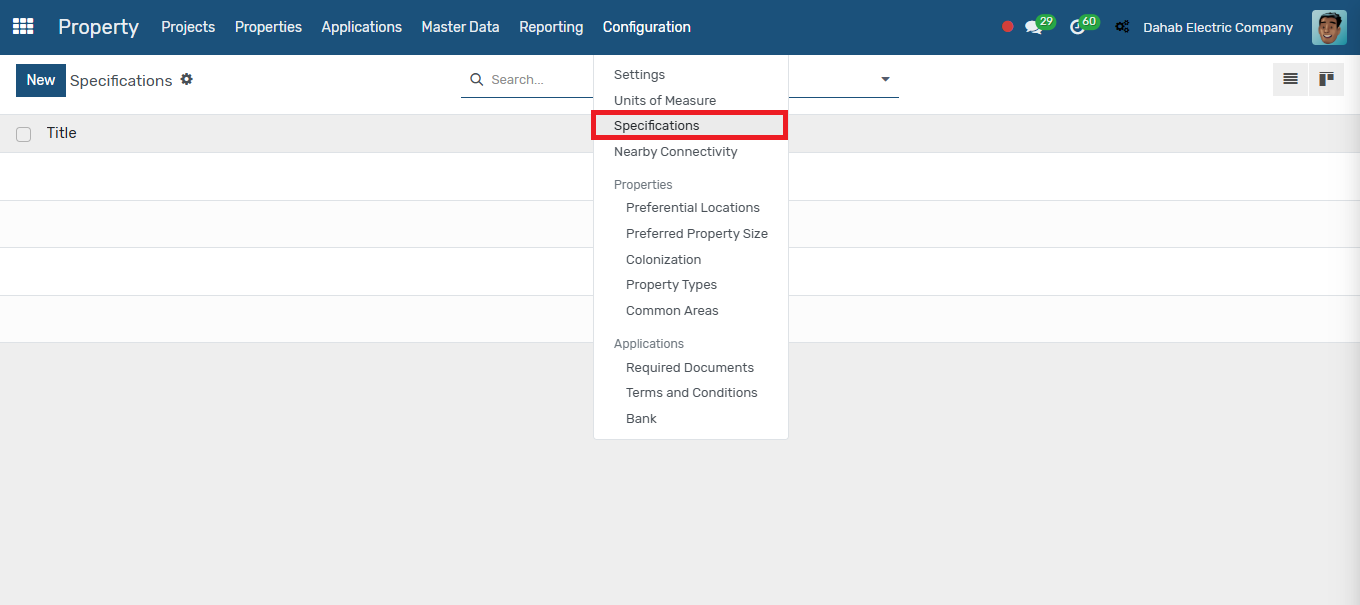
Specifications
To configure specifications to your project, go to Property → Configurations → Specifications, then enter the name and image, and click Save.
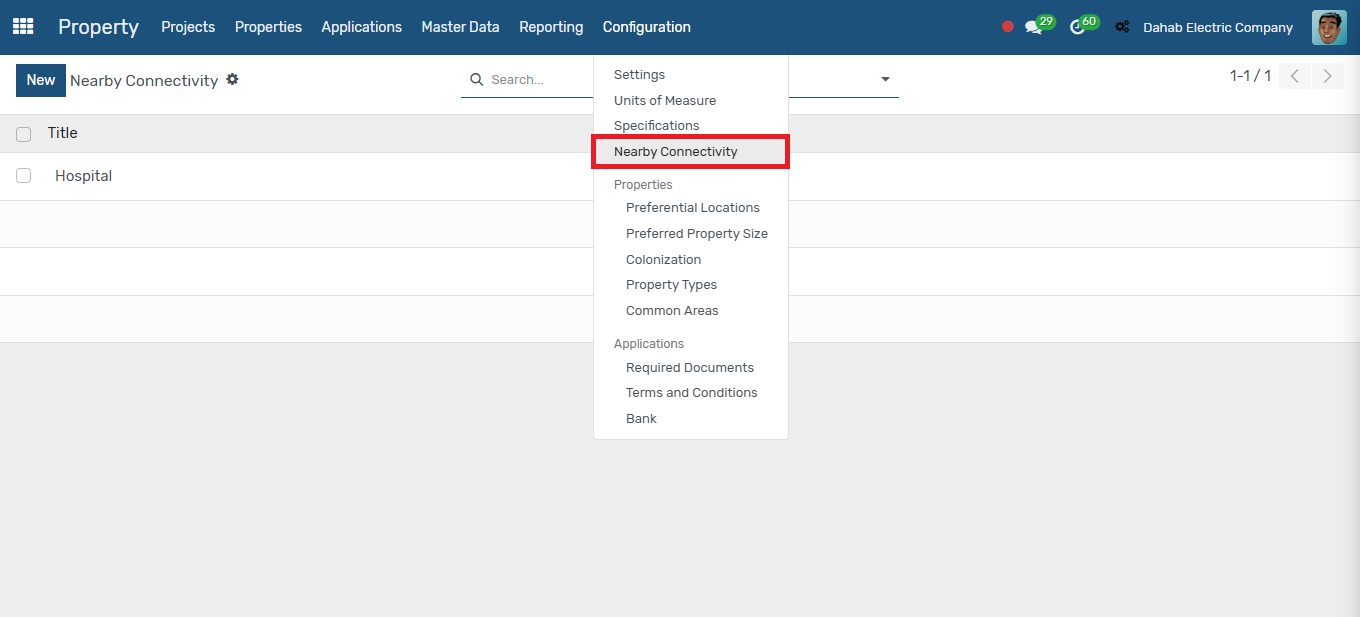
Nearby Connectivity
To configure nearby connectivity, which will enhance your project sales, go to the Property module → Configurations → Nearby Connectivity, enter the name, and click Save.
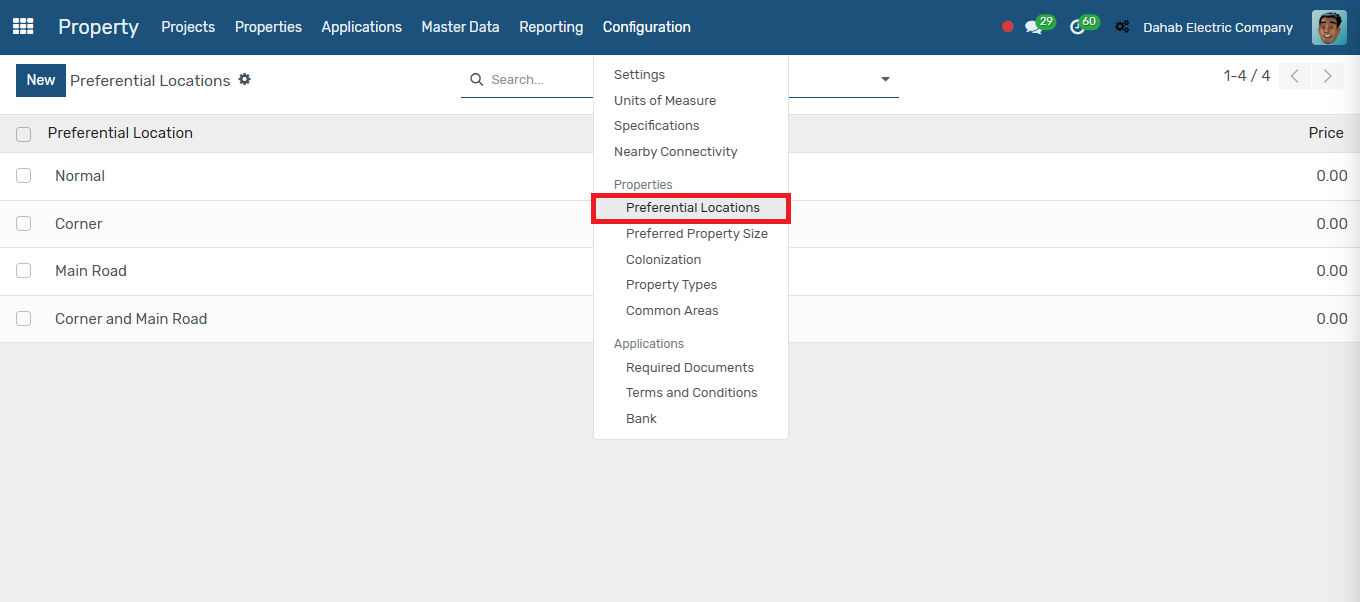
Preferential Locations
Preferential locations allow you to add additional prices for properties. To configure this, go to Configuration → Preferential Location, click New, enter the name, and click Save.
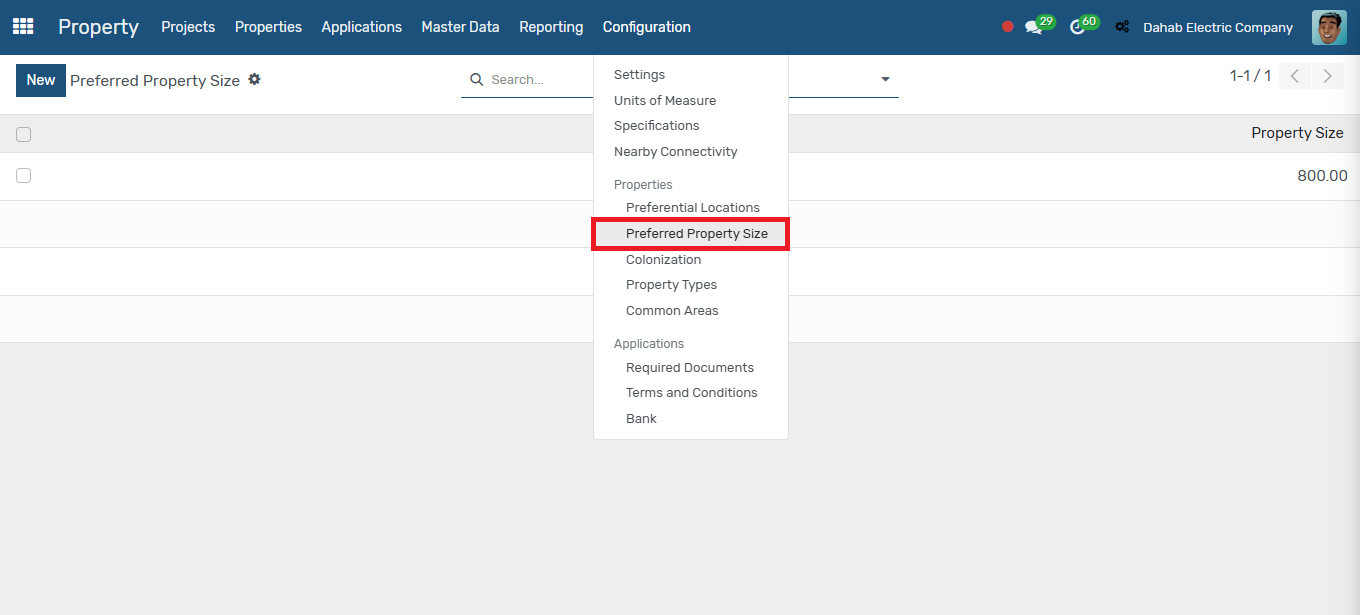
Preferred Property Size
Preferred property size refers to the size you prefer when creating a property. To configure this, go to Configurations → Preferred Property Size, click New, enter the size, and click Save.
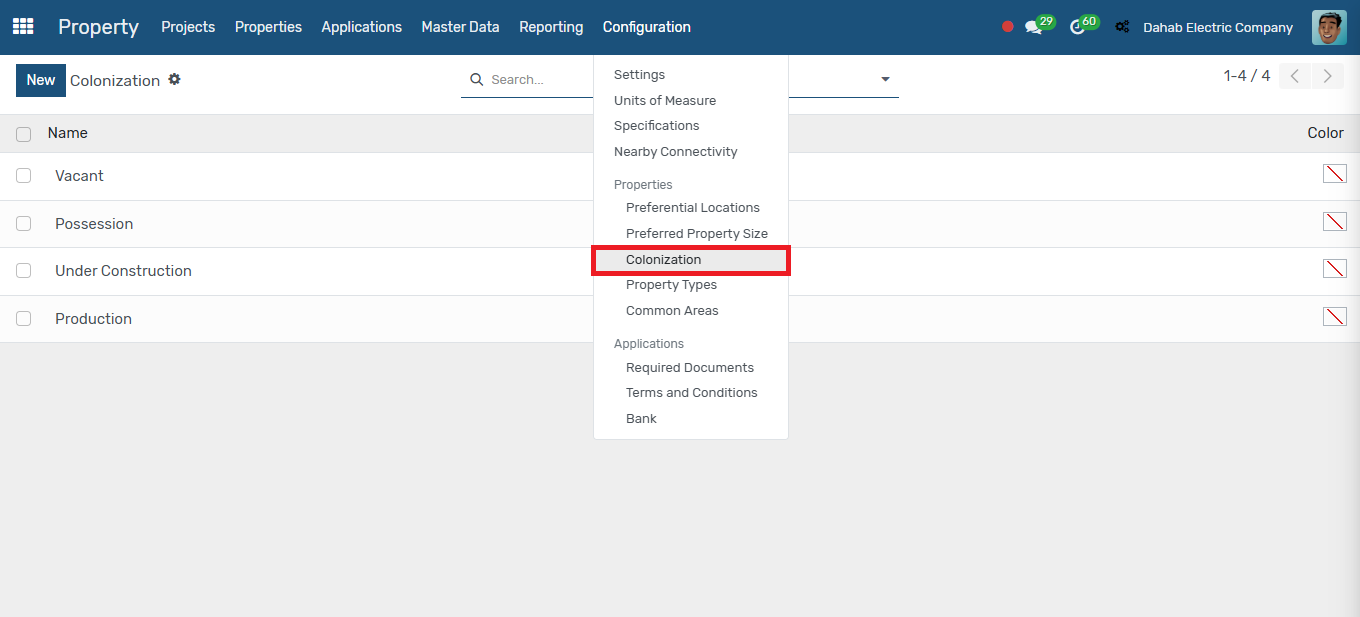
Colonization
Colonization is used for setting the property status. To configure it, go to Configuration → Colonization, click New, enter the name, and click Save.
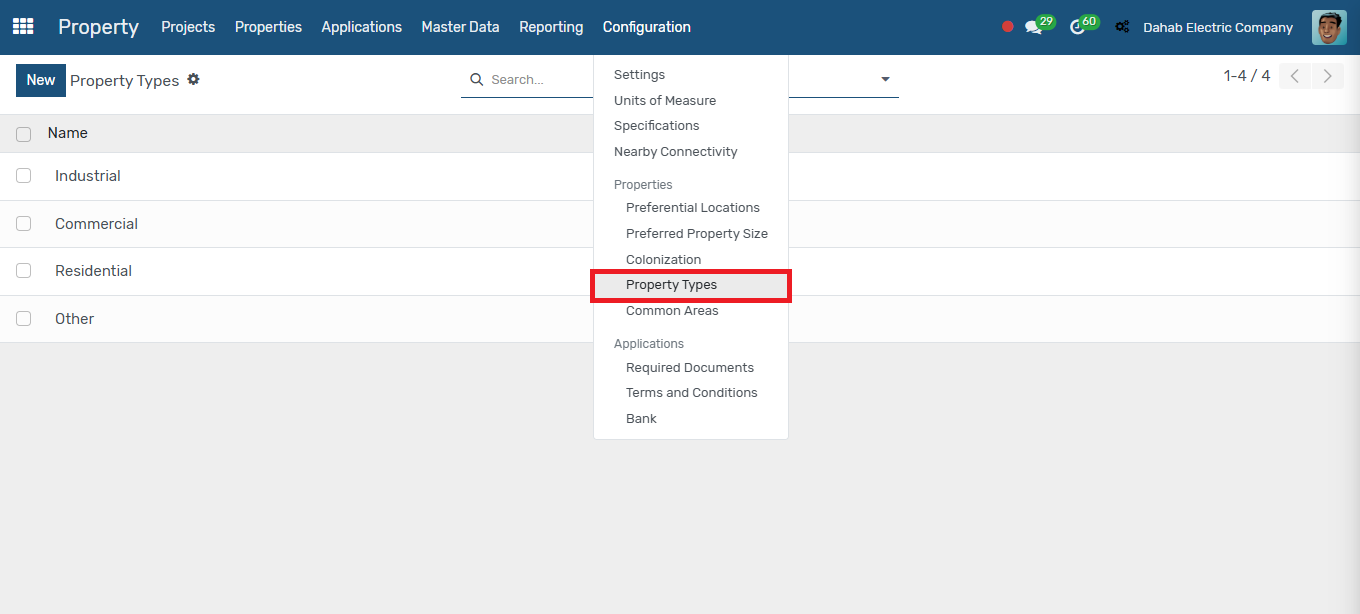
Property Types
You can configure different property types by going to Configurations → Property Types, clicking New, entering the name, and clicking Save.
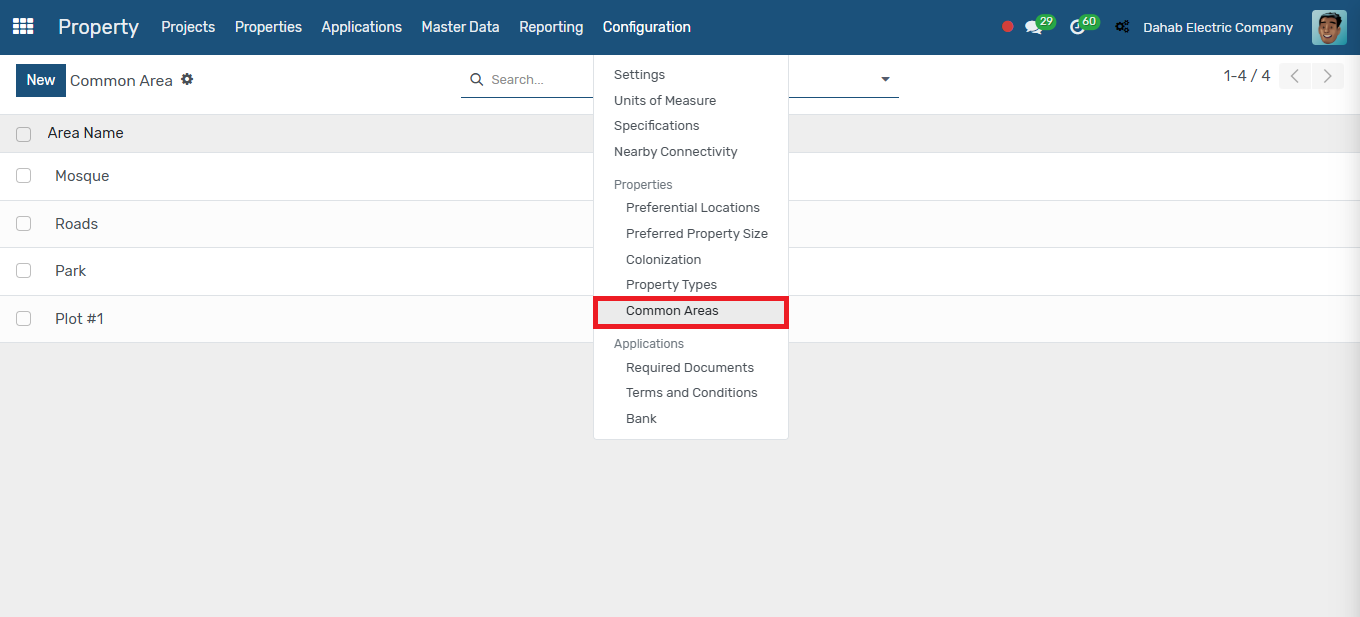
Common Areas
Common areas are non-saleable spaces. To configure them, go to Configurations → Common Area, click New, enter the name, and click Save.
Required Documents
You can configure required documents for processing applications and link them to specific projects. These documents will only be needed when the corresponding project's application is created. To set this up, go to Configurations → Required Documents, enter the name, and select the associated projects.

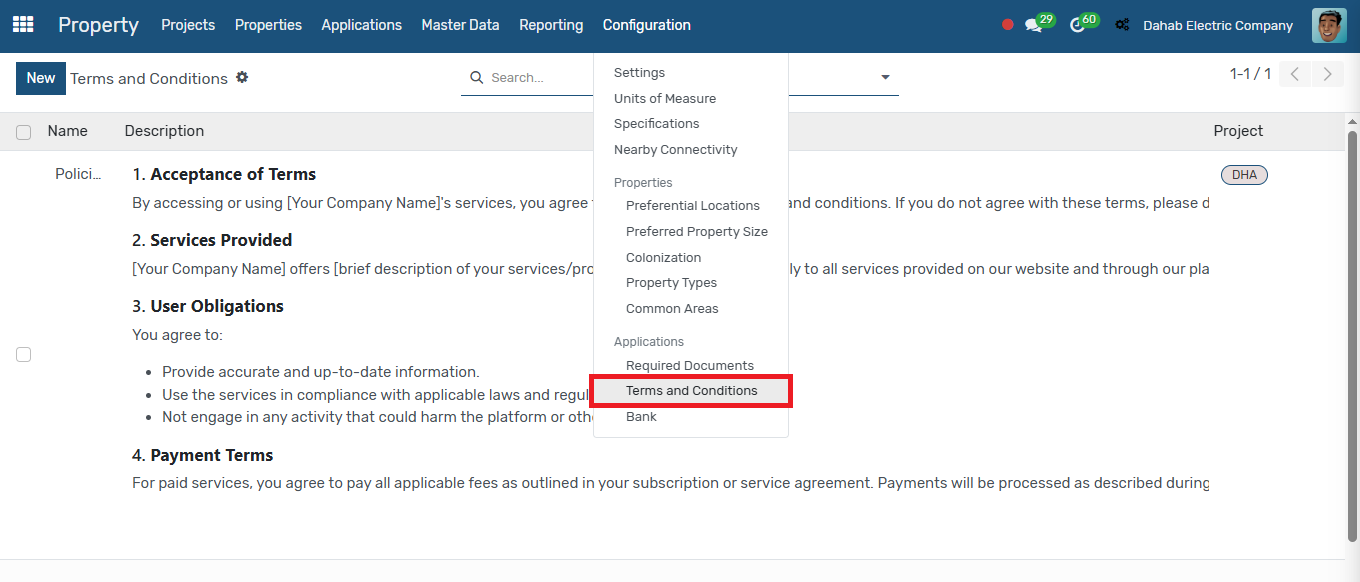
Terms & Conditions
You can configure terms and conditions for processing applications and link them to specific projects. These terms will only apply when the corresponding project's application is created. To set this up, go to Configurations → Terms & Conditions, enter the name, and select the associated projects.
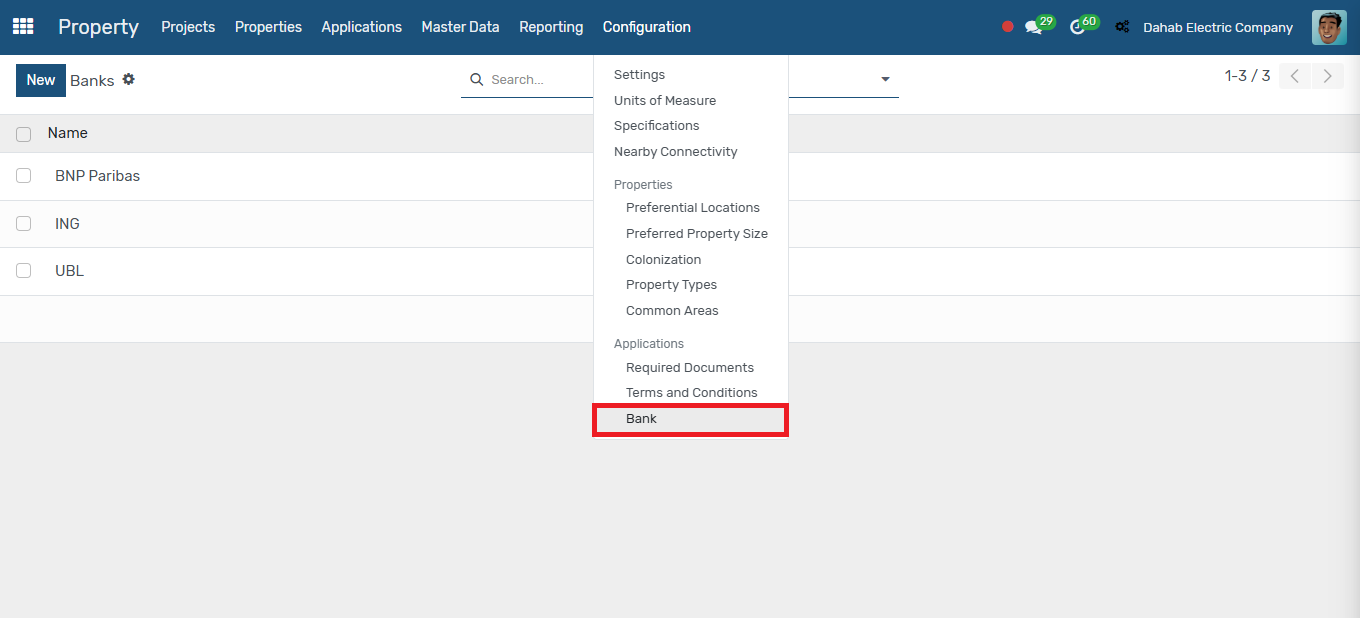
Bank
You can configure different banks by going to Configurations → Banks, then entering the name and saving it.
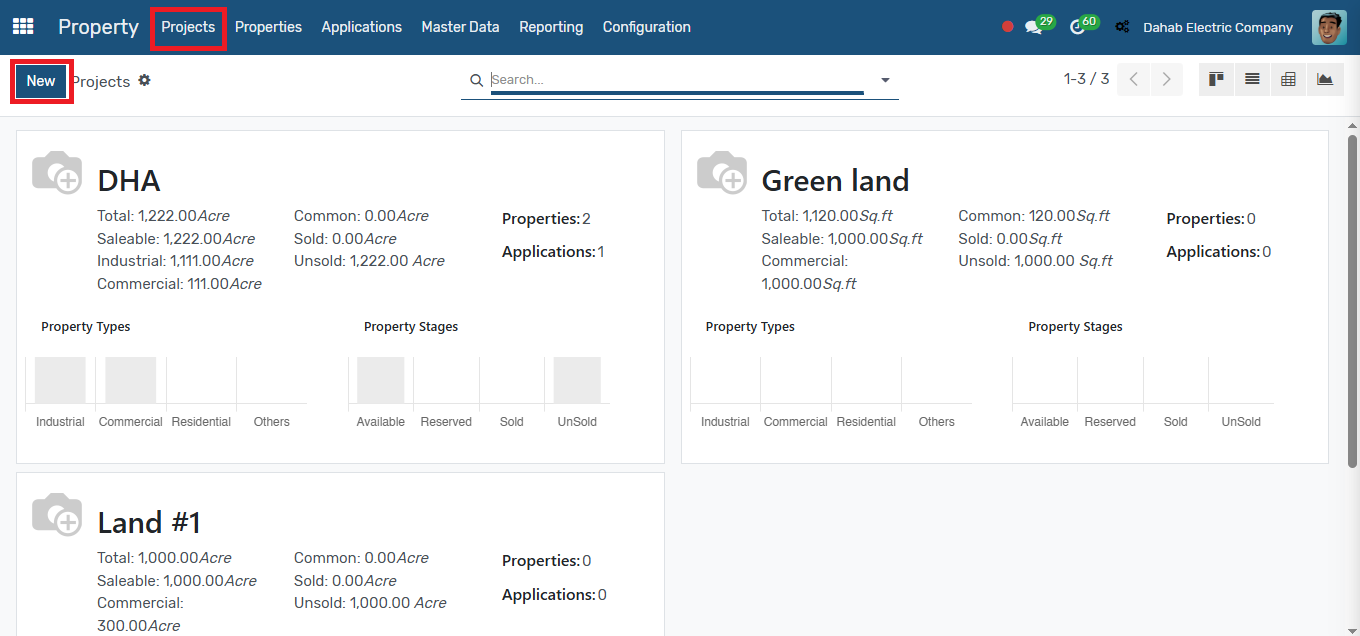
Projects
To create a new project, go to the Project menu and click on New.
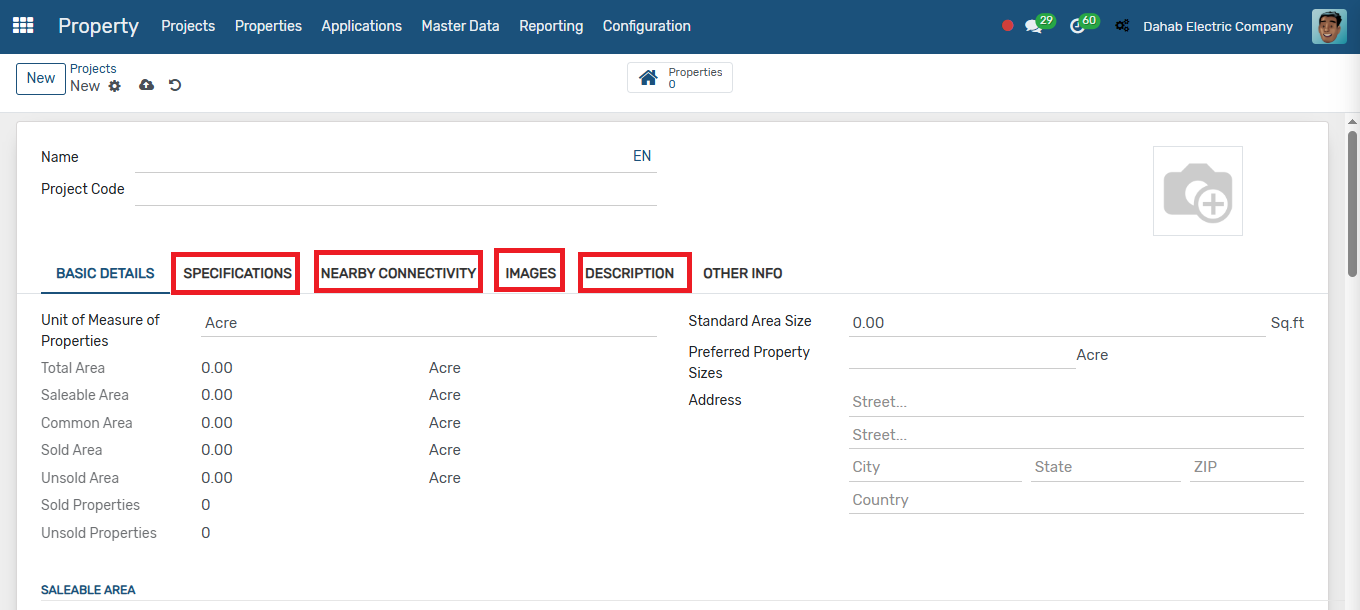
Enter the relevant details for your project, including the name, code, image, and address. Also, select the unit of measure for the project.
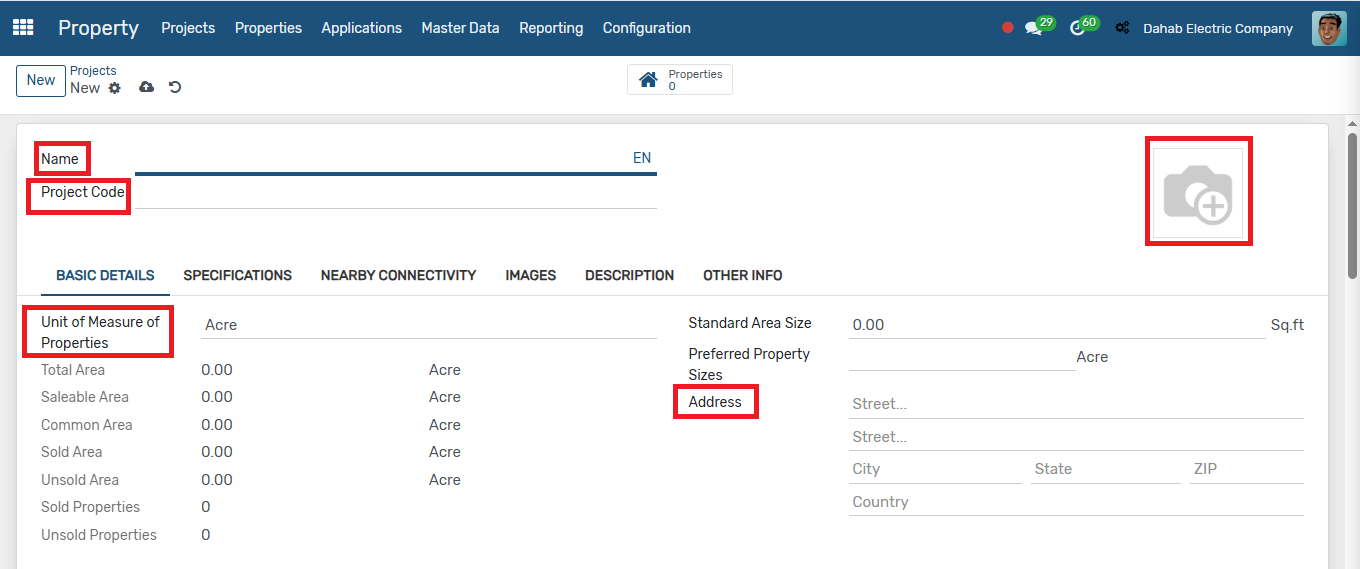
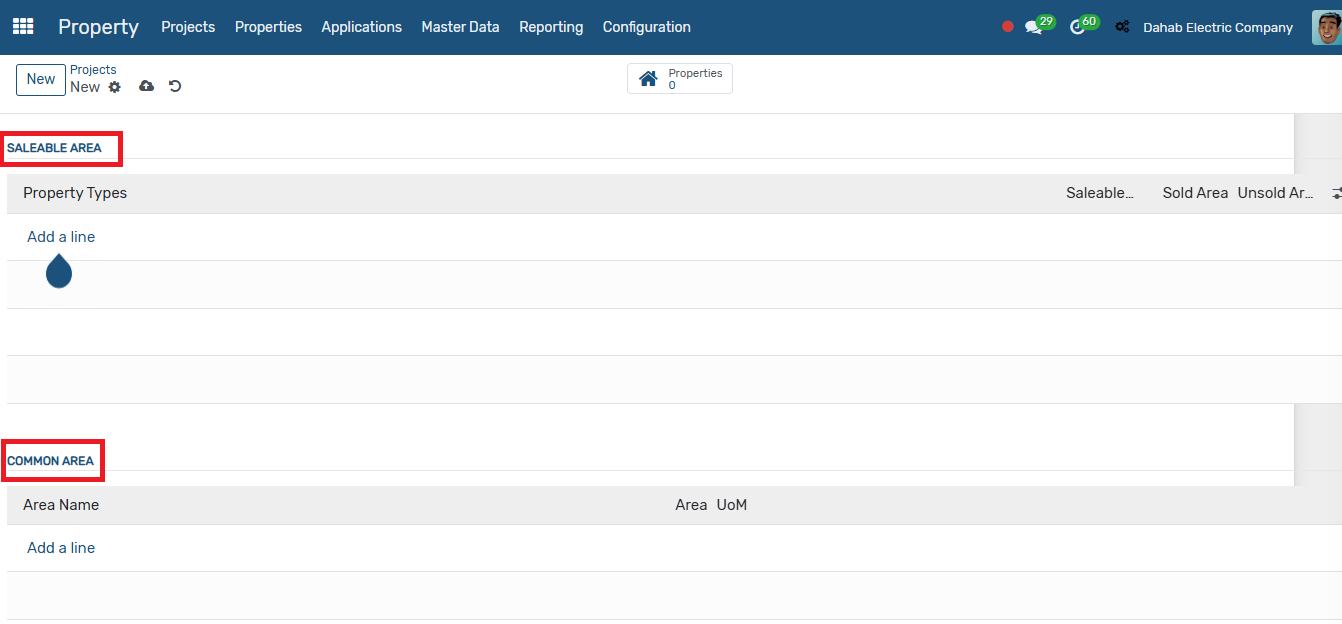
Enter the saleable area, select the property type, and specify the area for the selected property type. Additionally, choose the common area, which represents the non-saleable area, and enter the name and area for it.
There are additional tabs where you can select specifications, nearby connectivity, add images and descriptions for your project. Once you've entered the details, click Save.
Properties
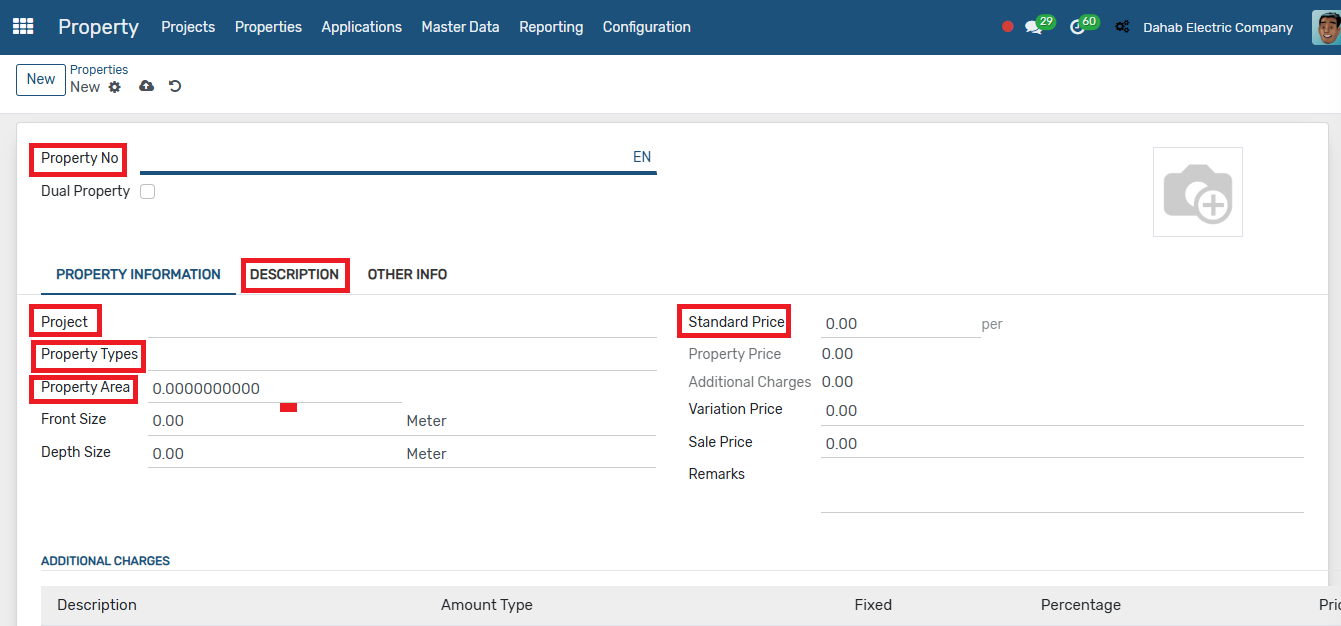
To create properties, go to the Property menu → Properties, click on New, enter the name, select the project and property type, then provide the area and standard price. The price will be automatically calculated based on the area. You can then add a description if needed, and then click Save.
Merge Property
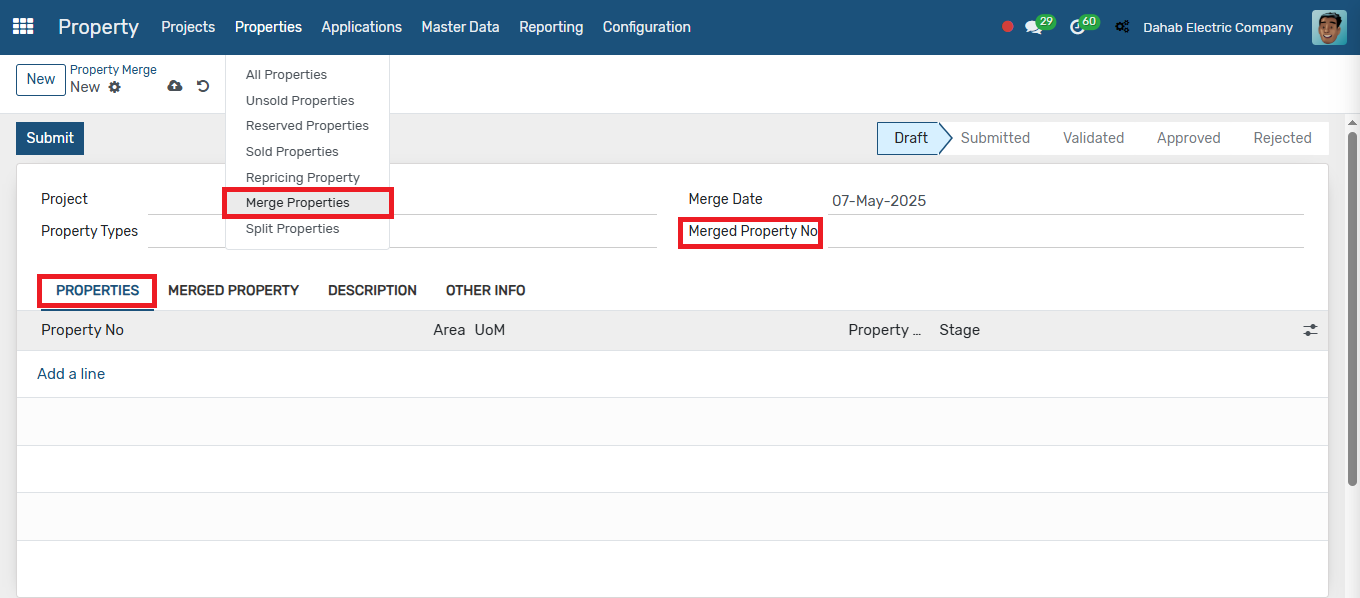
You can merge two or more properties into a new property and charge a fee for the merge. To do this, go to the Properties menu → Merge Property, click on New, select the project and property type, and give the new property a name. Then, select the properties to merge, and by applying the merge, the selected properties will be merged, and the others will be archived.
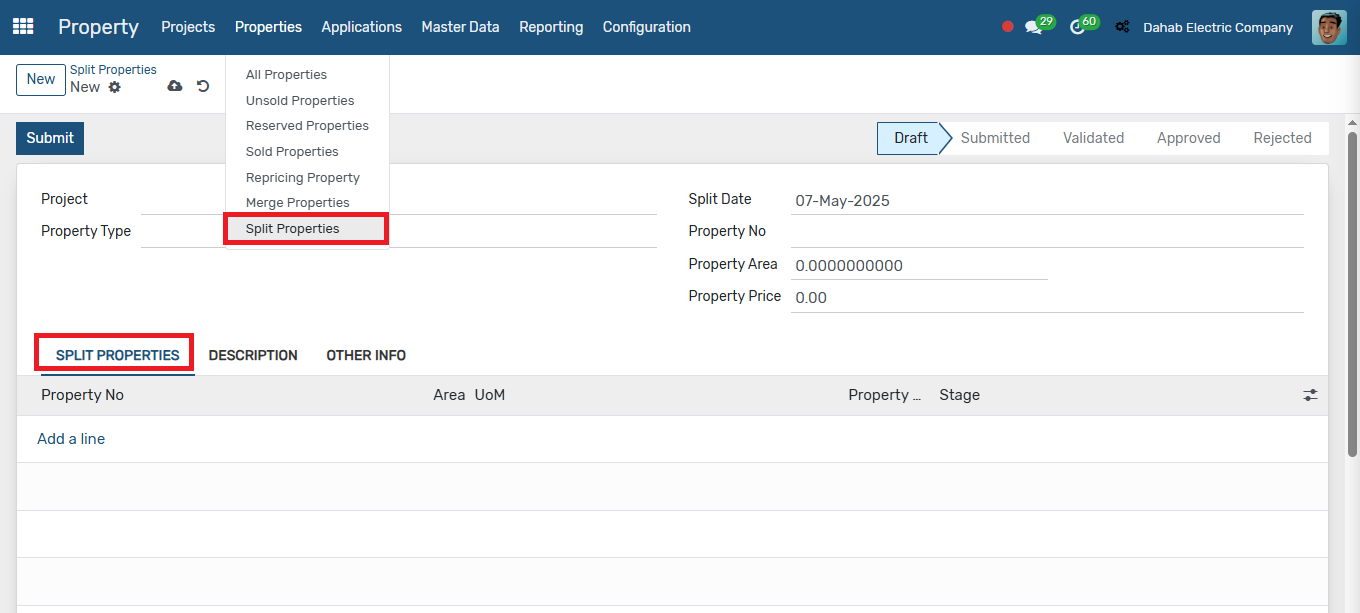
Split Property
You can also split a property into two or more separate properties. To do this, go to the Properties menu → Split Property, click on New, select the project and property type, and provide a name for the new property. Then, select the property to split, define the areas for each new property, and the original property will be archived after the split.
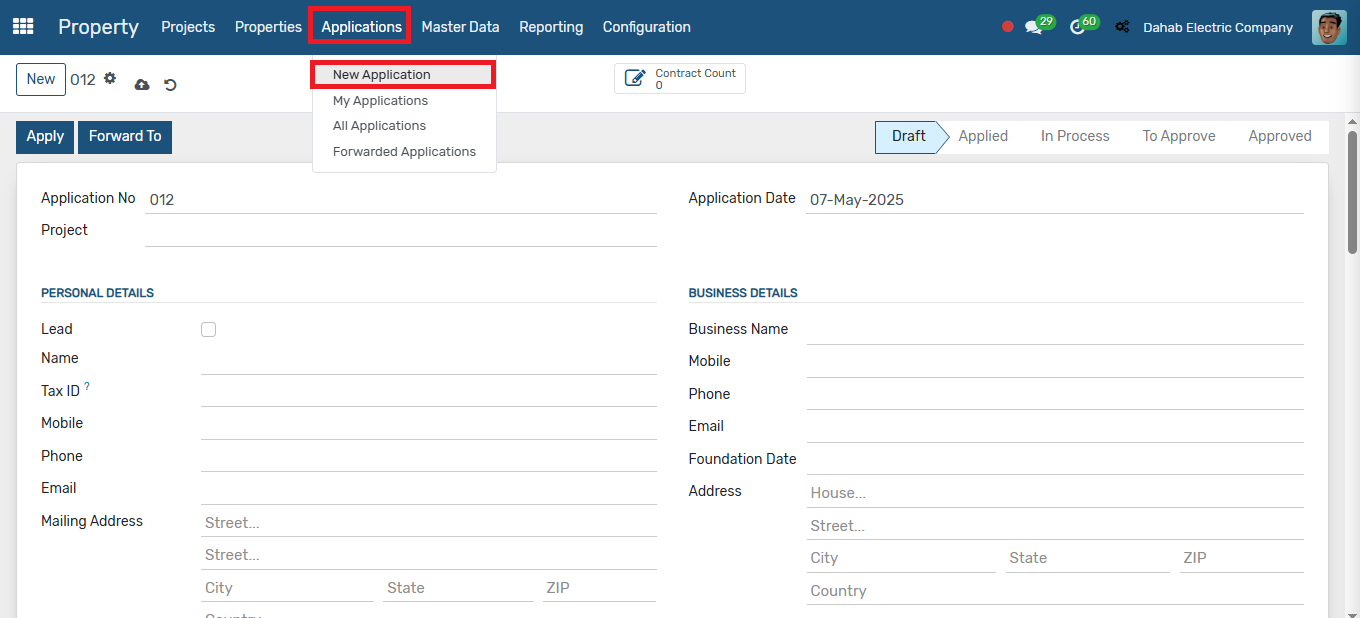
Property Applications
Once the project and property have been created, you can create an application for the property. To do this, go to the Application menu → New Application.
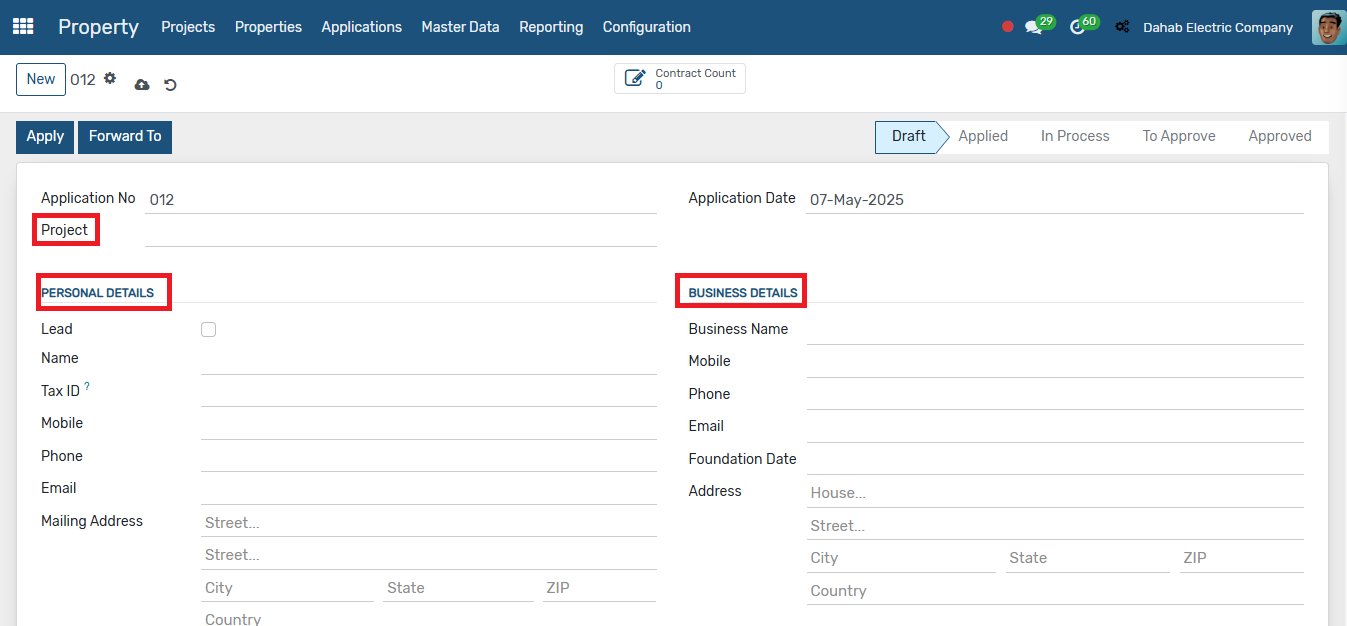
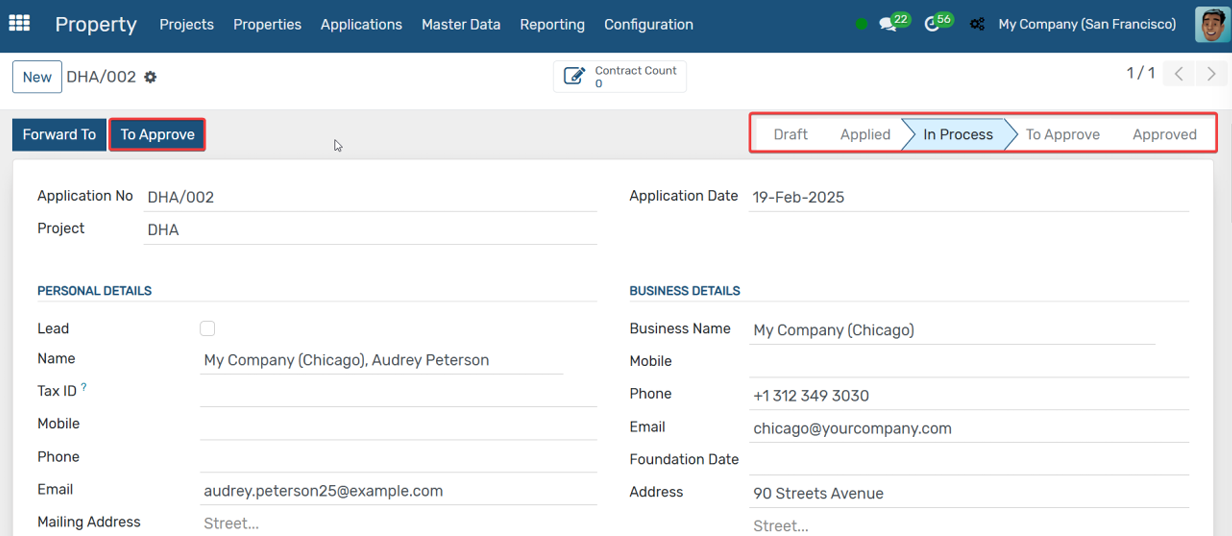
Select the project, then enter the personal and business details for the application.
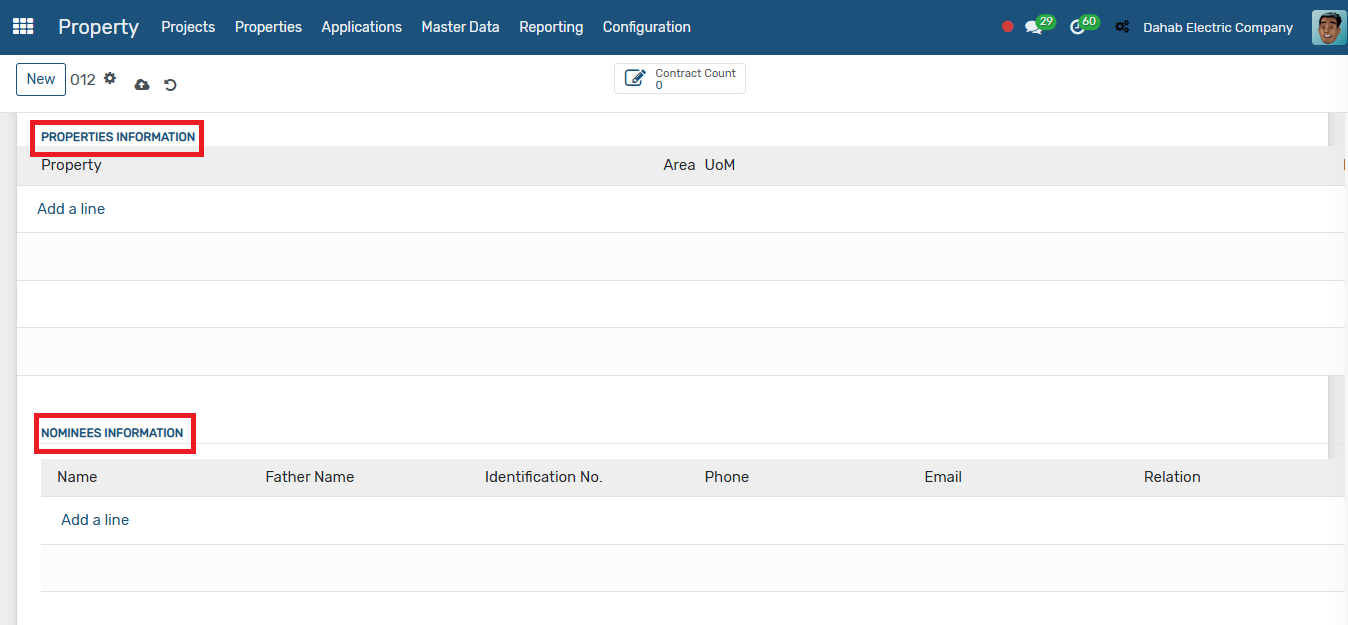
Select the properties for which you want to create the application, and also provide nominee details and bank details, if applicable.
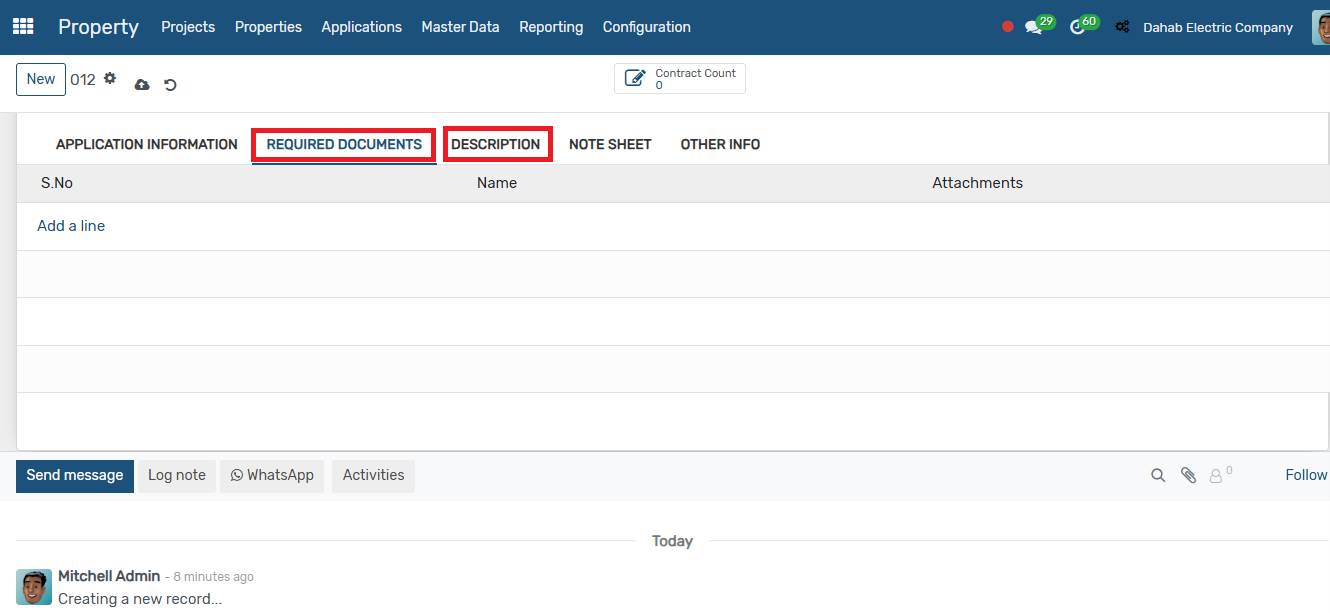
Attach the necessary documents required to submit the application and click on submit.
Once all details are entered, click "Submit" to apply. The application will then move through the "In Process," "To Approve," and "Approved" stages. Once the application is approved, the property will automatically be marked as "Sold."
Reporting
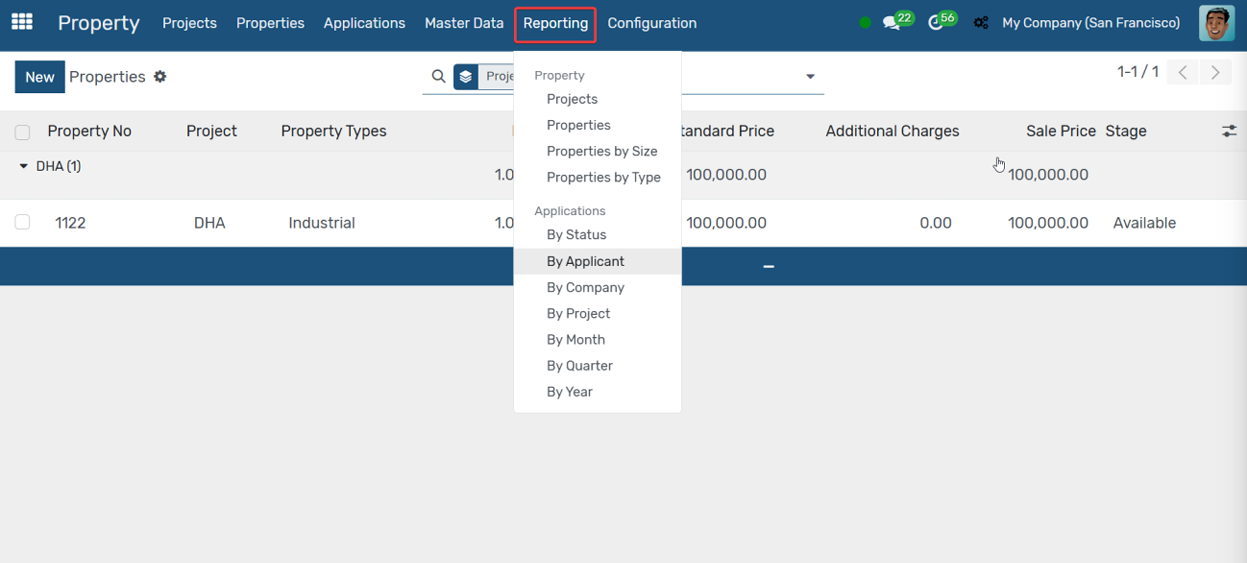
To view various property reports, navigate to the Reporting menu, where you will find a range of reports.
Previous Bill Of Quantities Next Customer Contract