Payroll
The payroll management module is a powerful tool that simplifies and automates payroll processes within organizations. It enables you to efficiently manage employee data, calculate salaries, handle tax deductions, generate payslips, ensure statutory compliance, and seamlessly integrate with accounting. This module enhances accuracy, reduces manual workload, and ensures smooth payroll operations.
User Access Rights
- Employee: Own Documents Read Only (This user can only see his payslips in read only)
- HR Officer: Create Payslips (This user can only create payslips)
- HR Officer: Validate Payslips (This user can only create and validate payslips)
- HR Manager: Confirm Payslips (This user can create, validate and approve payslips)
- Superuser: All Documents & Settings (This user has complete access of the module)
Steps to follow
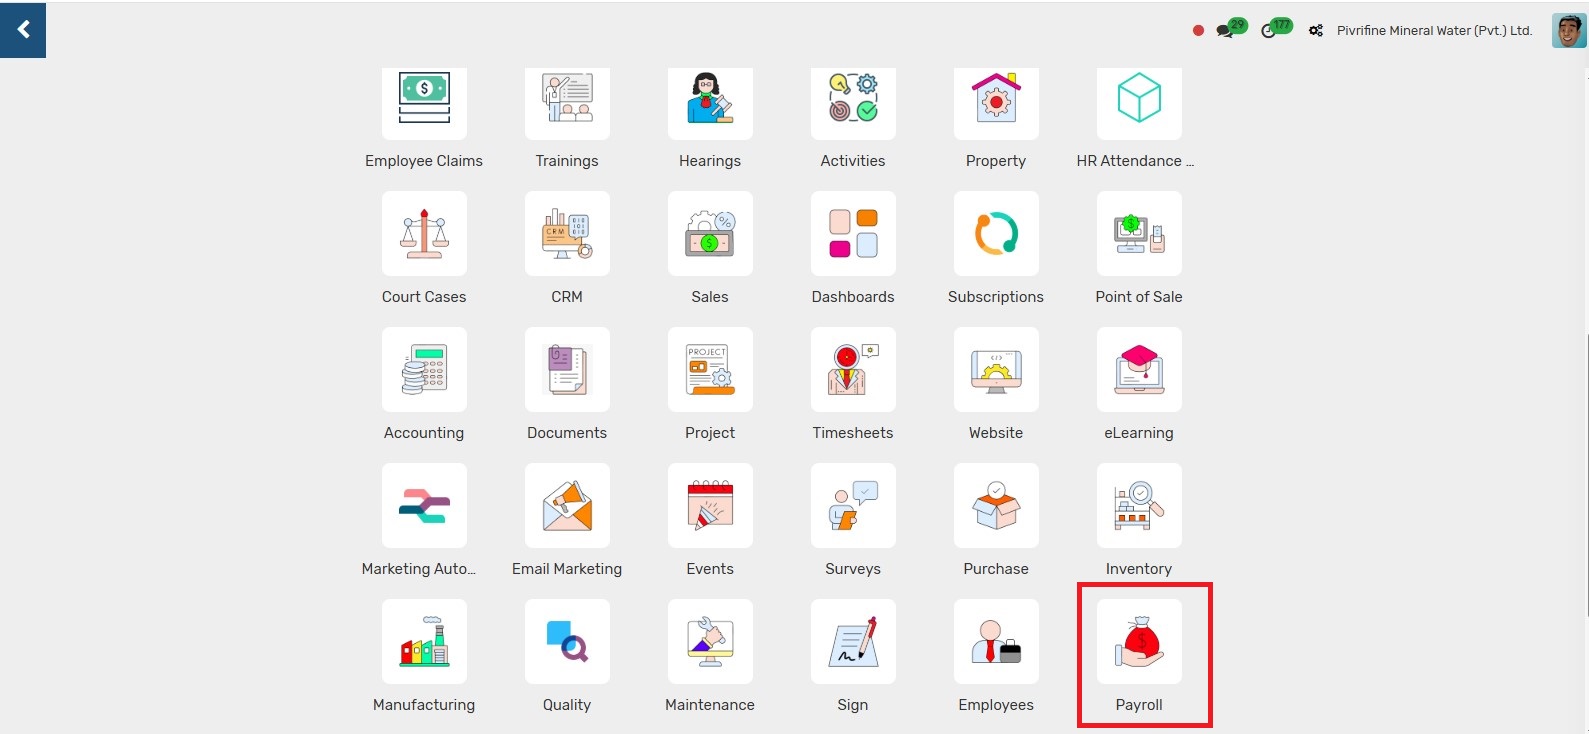
1. In Applications Dashboard → Click on Payroll icon
2. In
Payroll → Configuration → Work Entry Types, work entry types can
be created; they define types of employee attendance or time off like sick
leave or overtime.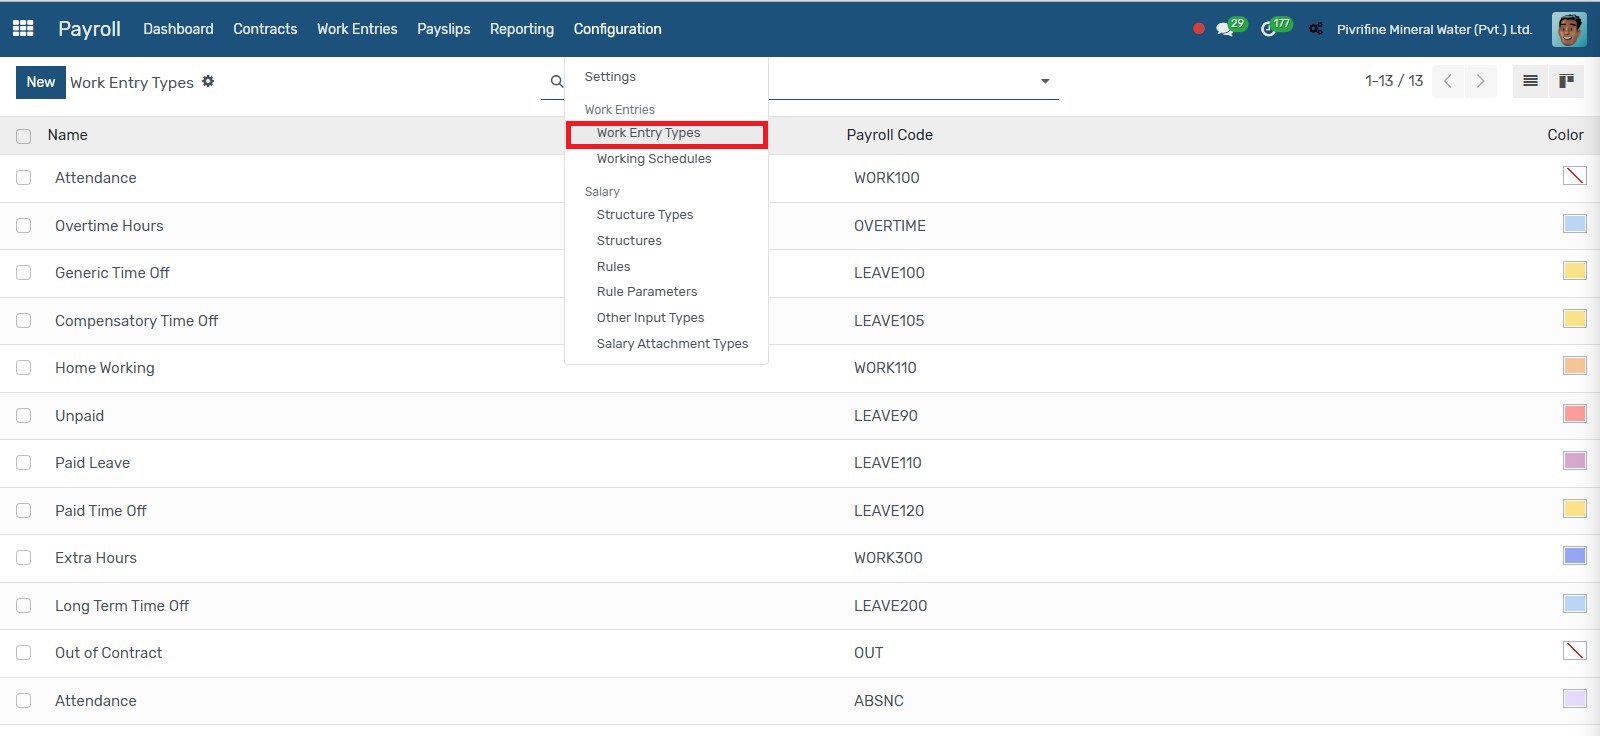
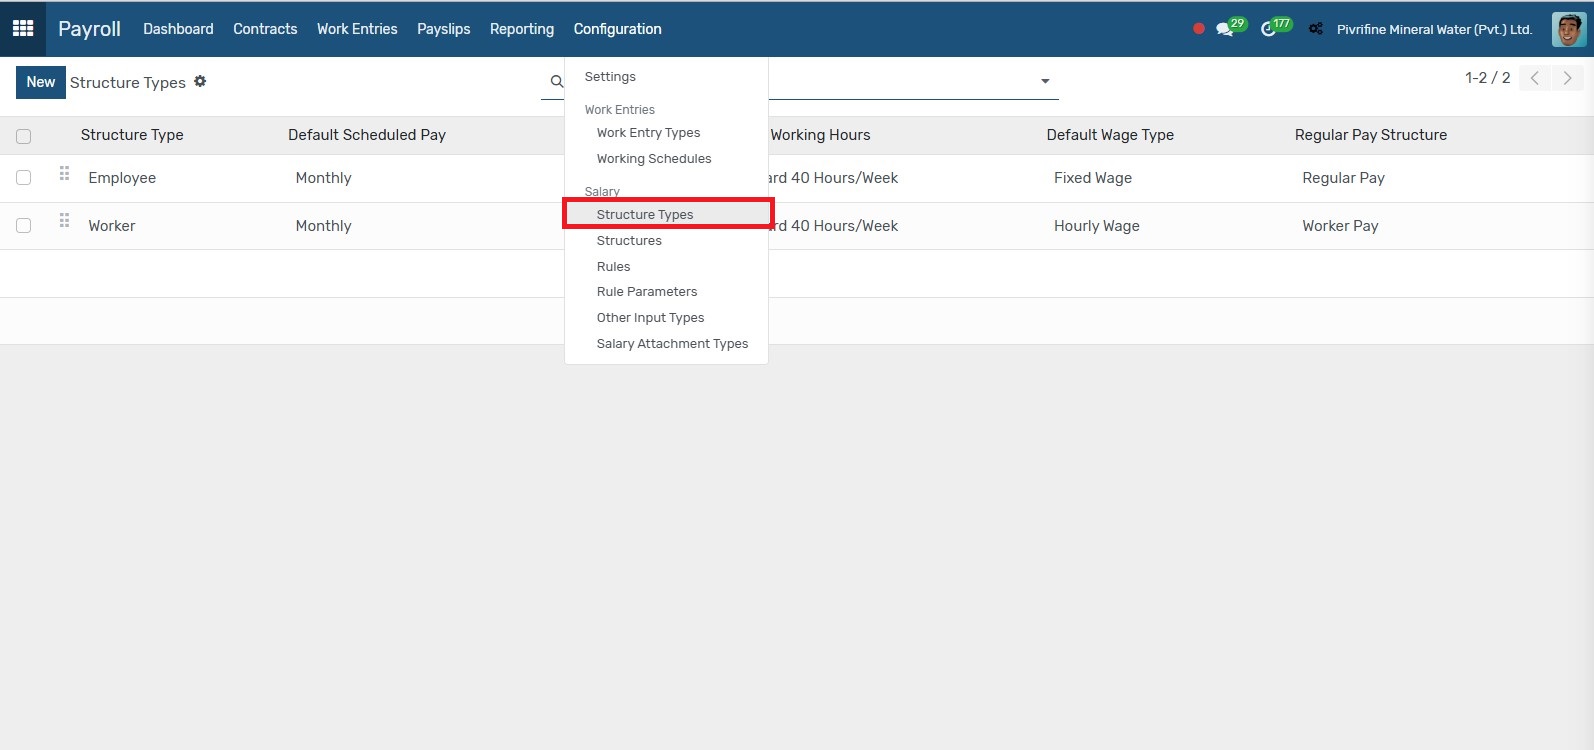
3. In Payroll → Configuration → Structure Types, structure types can be created to define the level of salary structure such as employee or worker
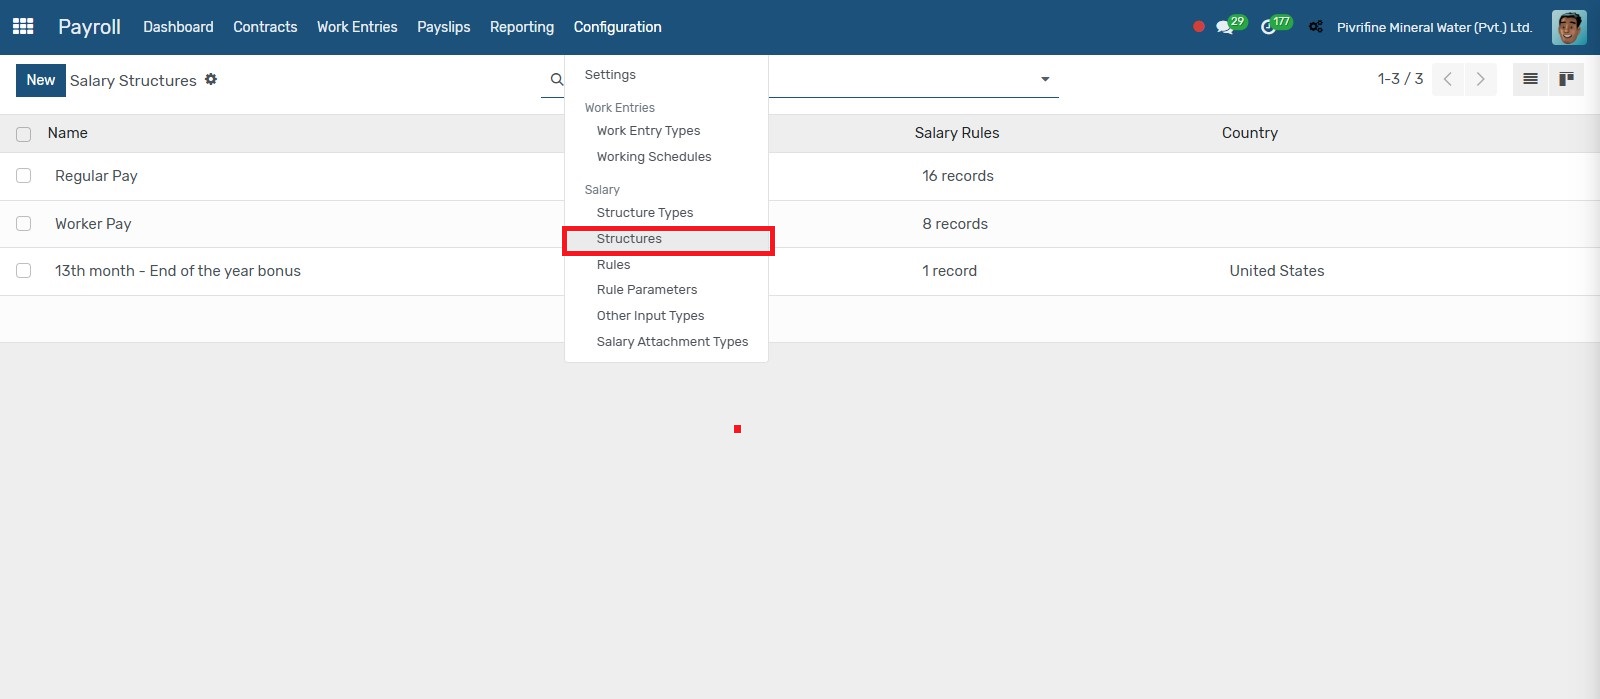
4. In Payroll → Configuration → Salary Structures, salary structures can be created to define grouped salary rules assigned to employees.
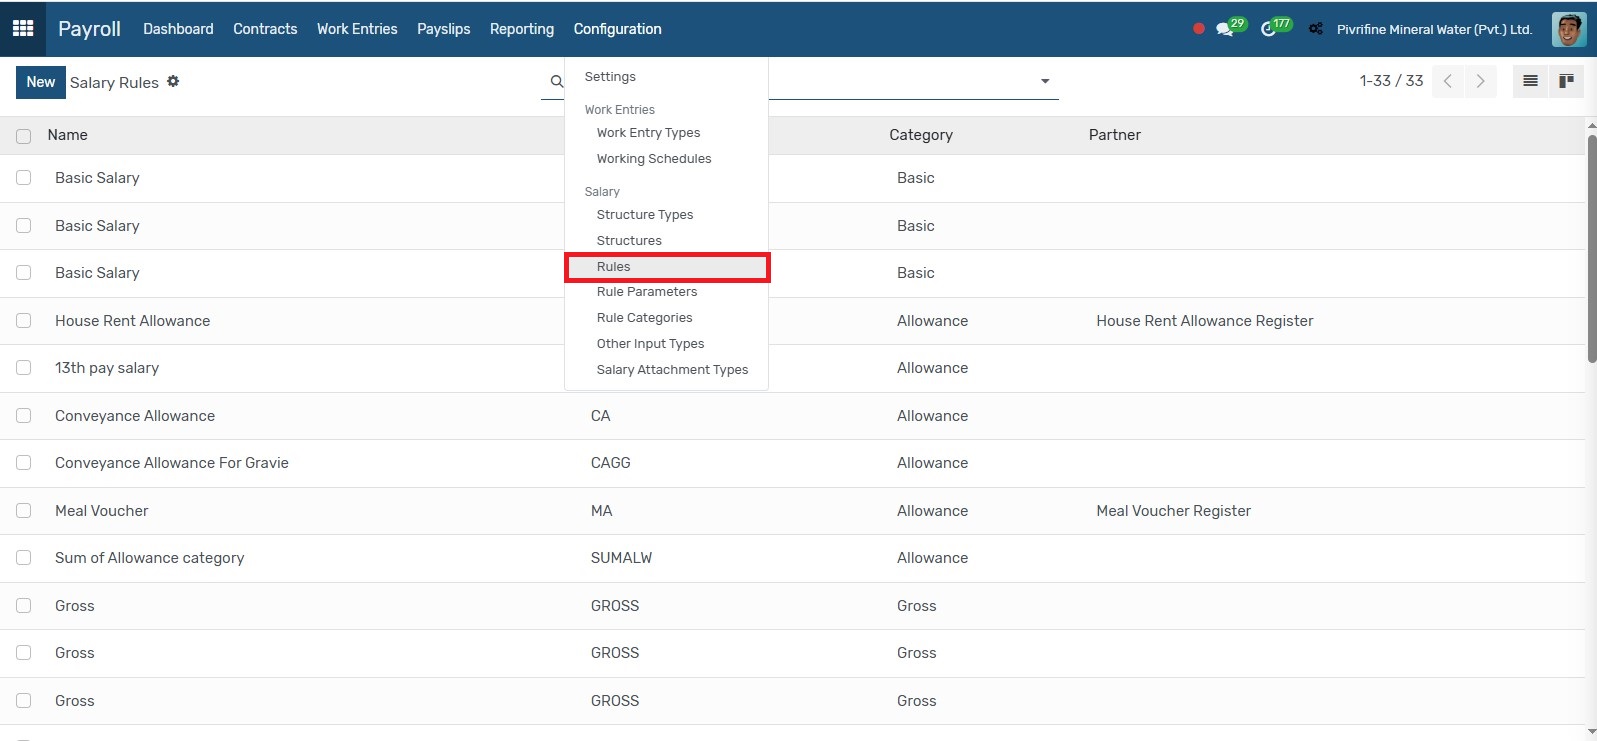
5. In Payroll → Configuration → Salary Rules, salary rules can be created to compute various salary components like basic, allowances, or deductions
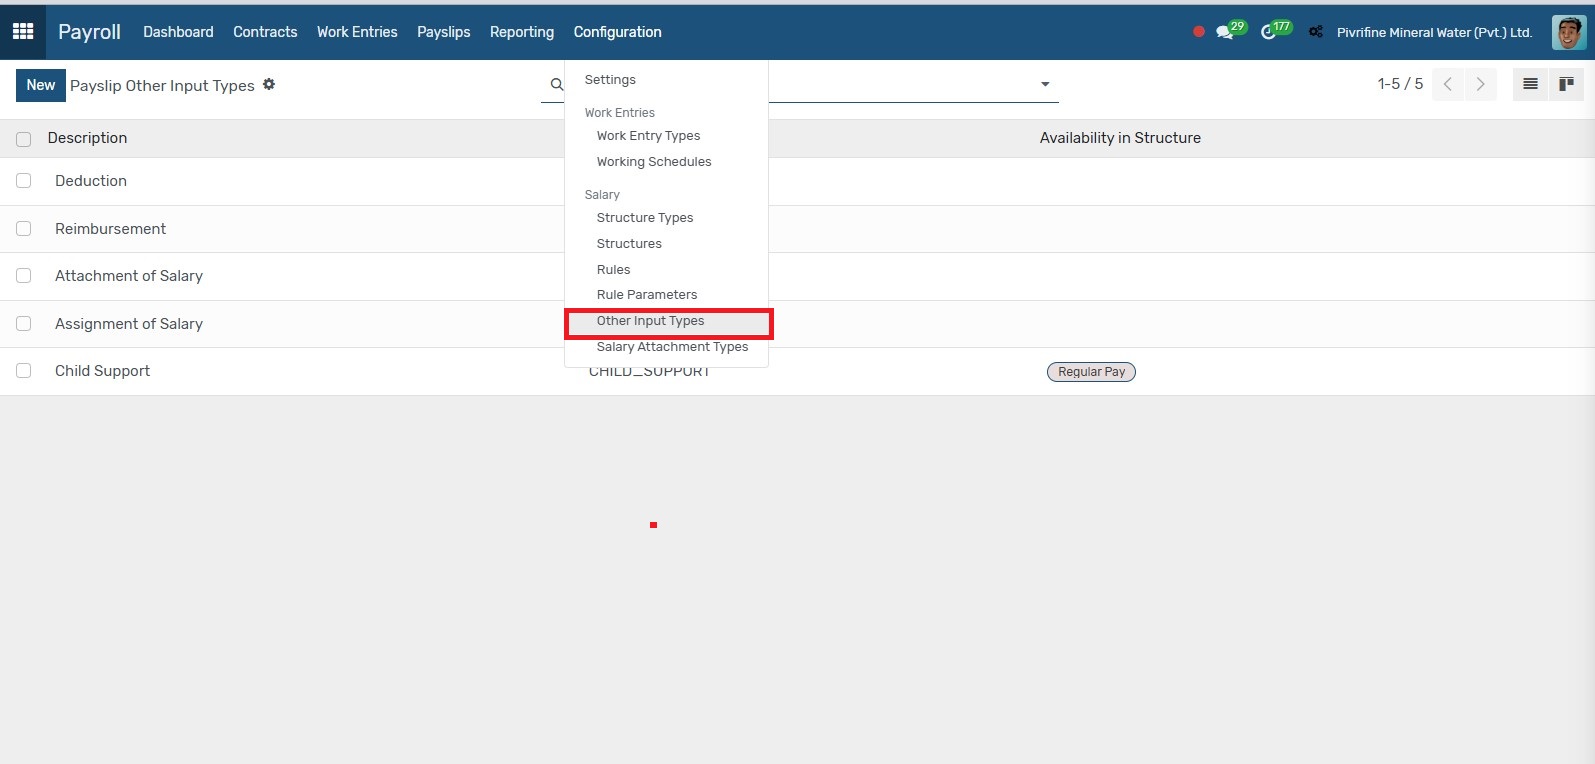
6. In Payroll → Configuration → Other Input Types, input types can be created to allow custom entries like reimbursement, other deductions or commissions in pay slips.
7. In Payroll → Configuration → Salary Attachment Types, salary attachment types can be created.

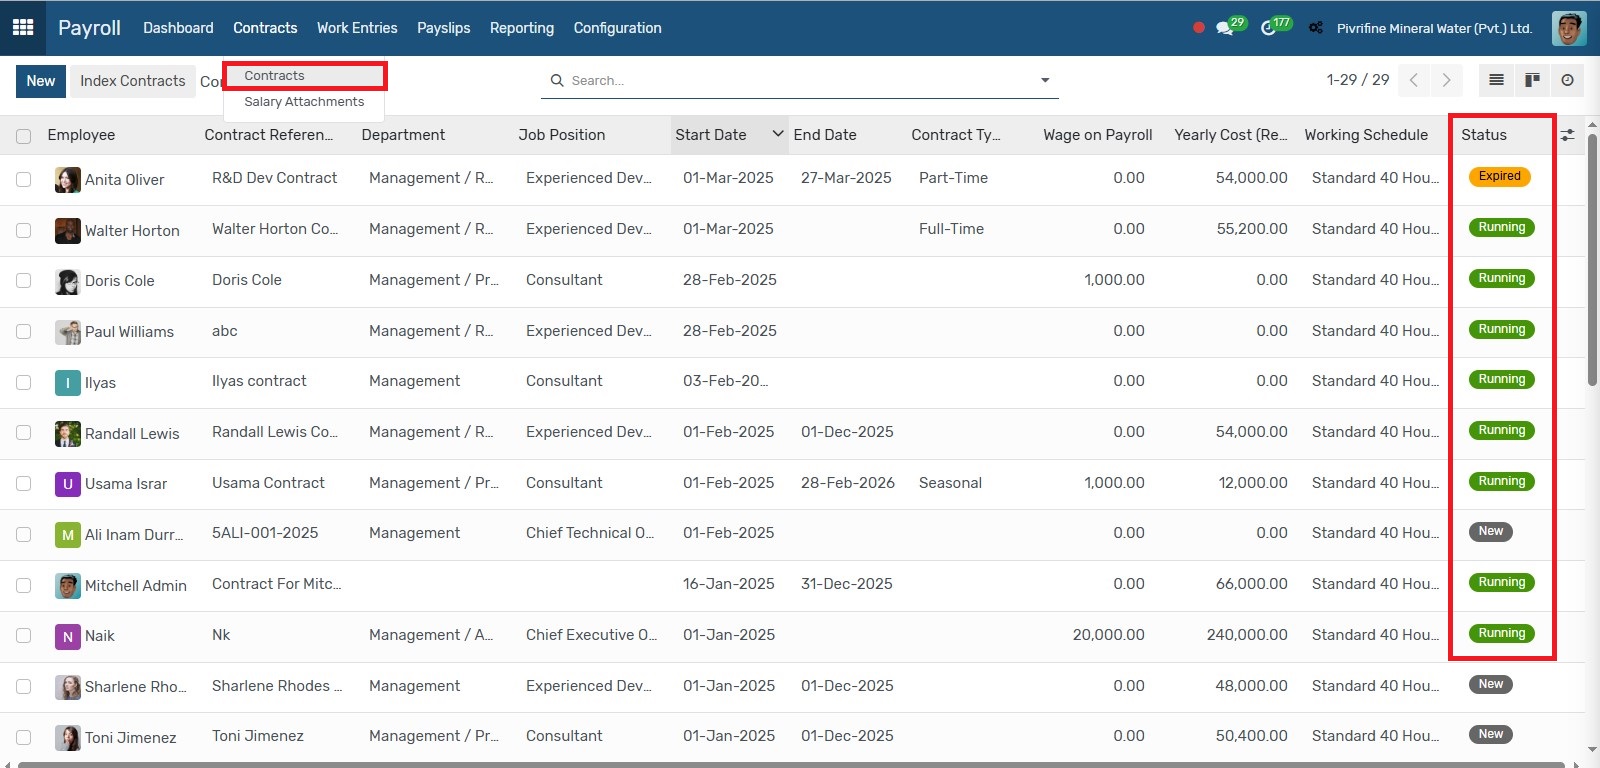
8. In
Payroll → Contracts → Contracts, all the contracts are available; users
can also create new contracts for employees here directly. Contracts must be in
"Running" status to be considered in payroll.
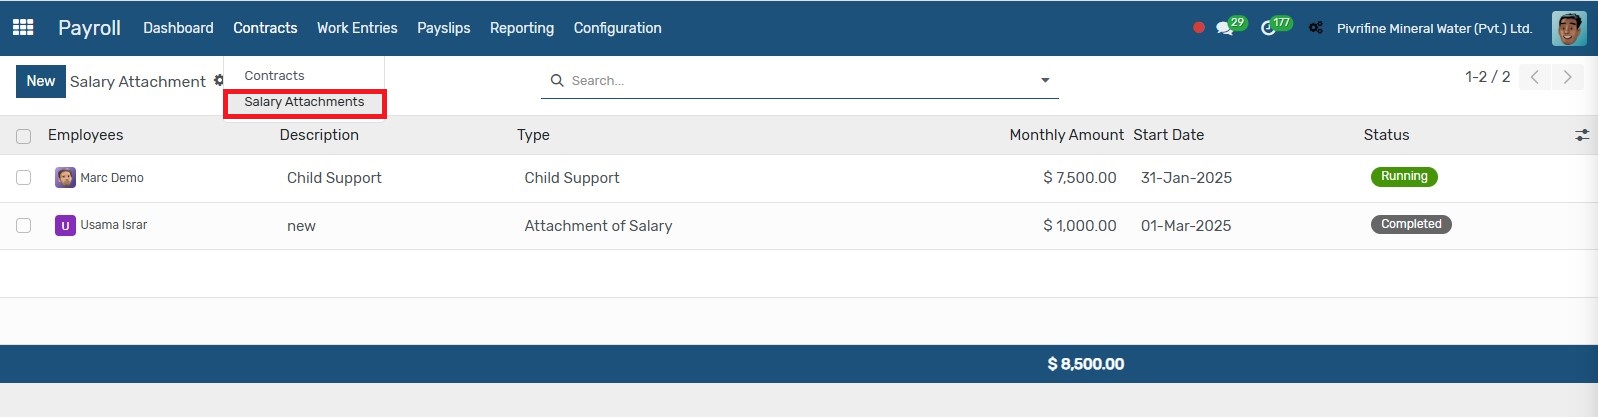
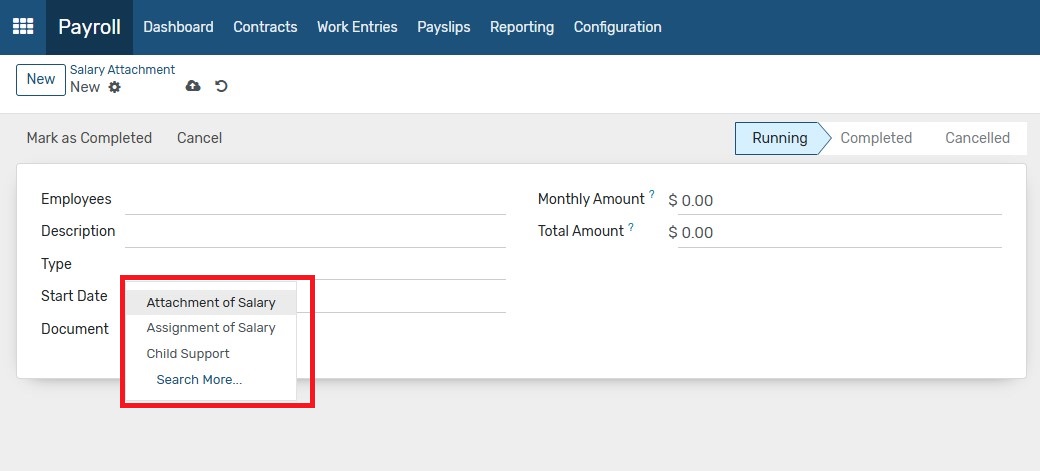
9. In
Payroll → Contracts → Salary Attachment, all the salary attachments are
available; clicking "New" allows creation of a salary attachment with
fields like employee name, amount, start date, Description are available. All
the salary attachment types created from configuration are available here for
selection.
10. In Payroll → Work Entries, work entries of employees are available.
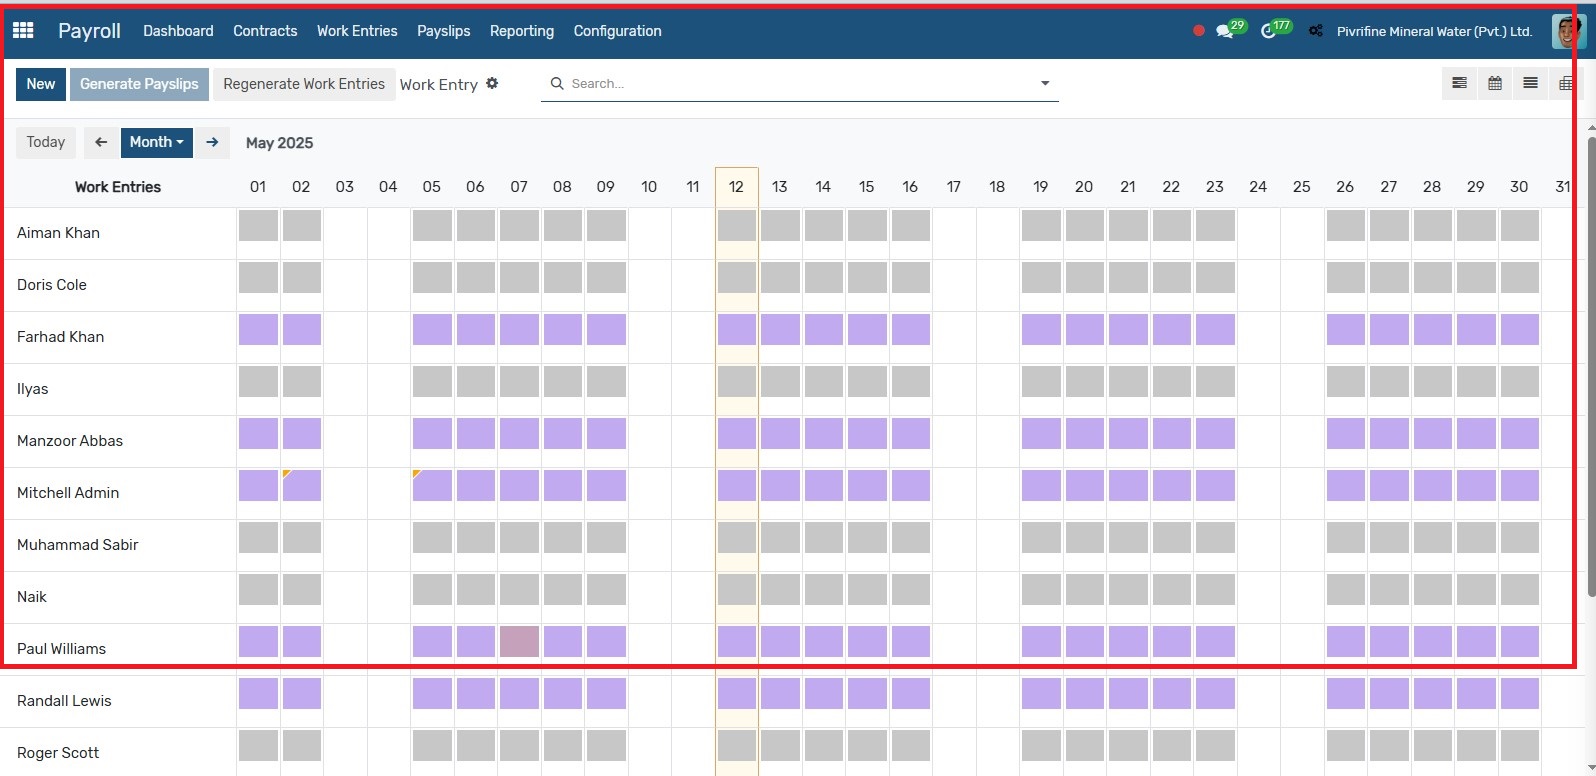
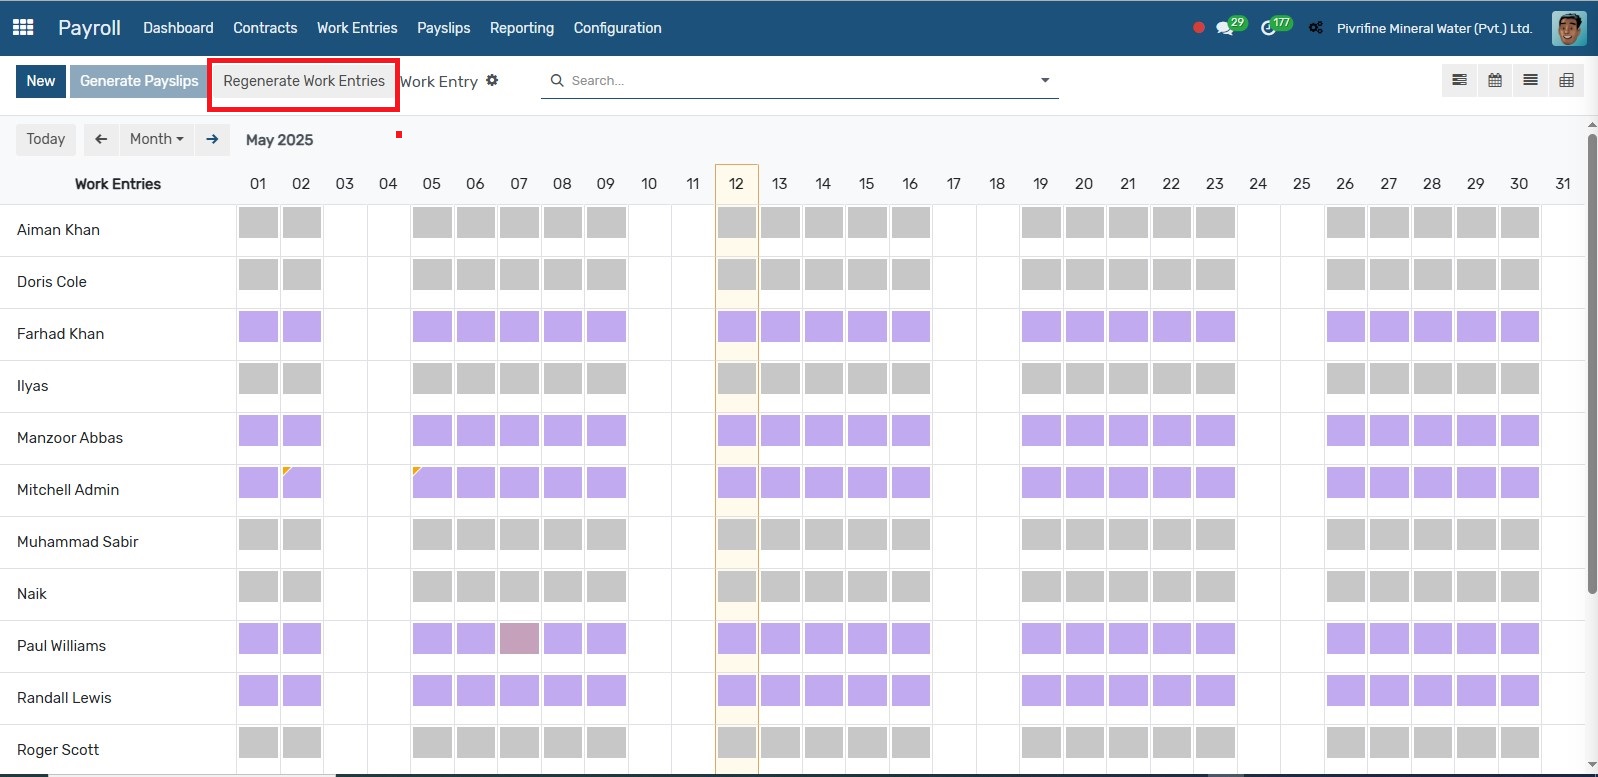
11. In
Payroll → Work Entries, click on Regenerate to regenerate work entries
for employees and a wizard will appear.
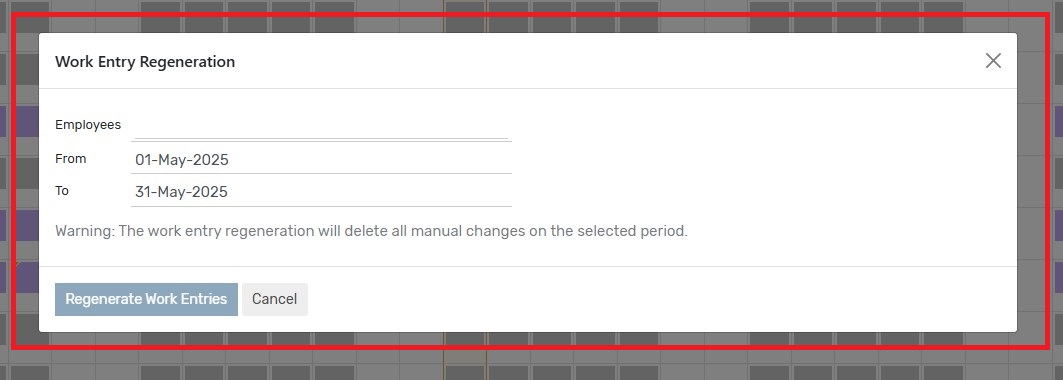
12. In
Payroll → Work Entries, in the wizard, select the employee and period,
then click "Regenerate" to generate work entries for the selected period.
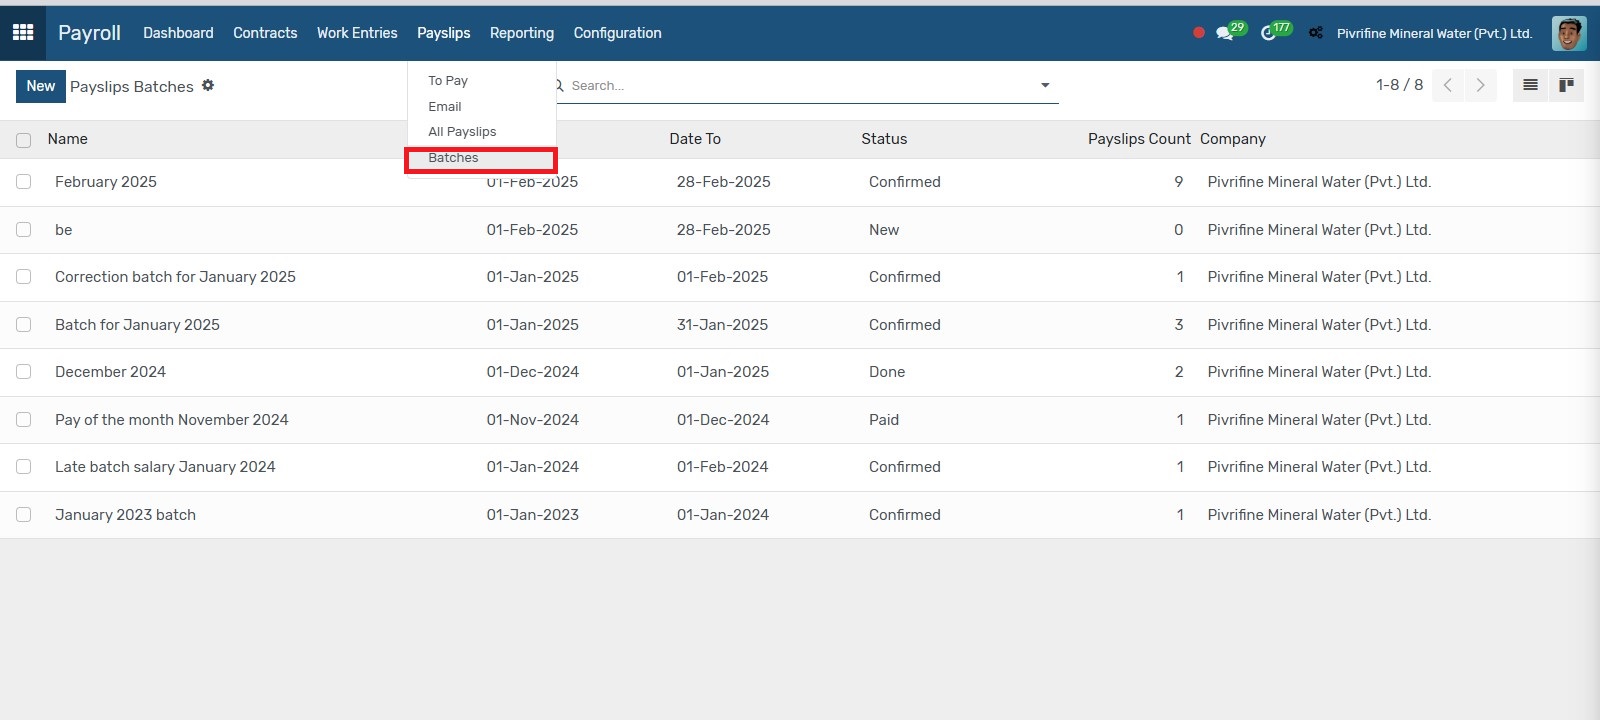
13. In
Payroll → Pay slips → Batches, payroll batches can be created for
processing payroll in bulk.
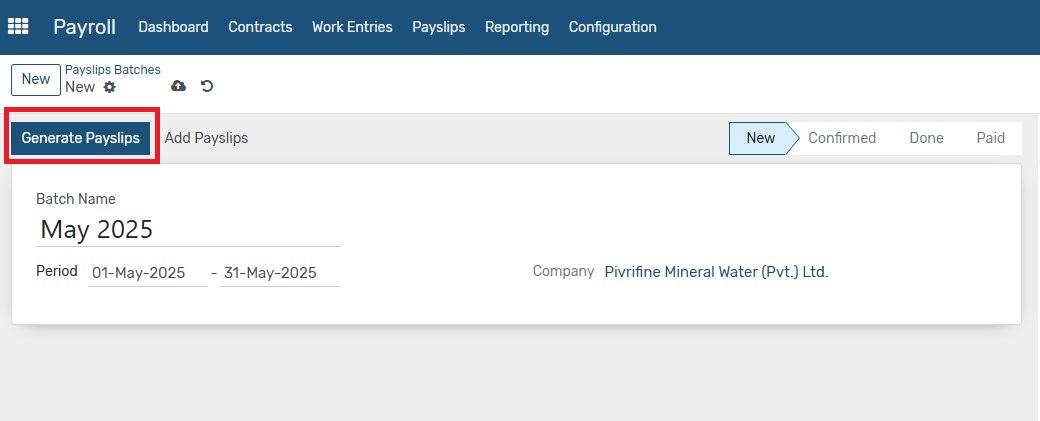
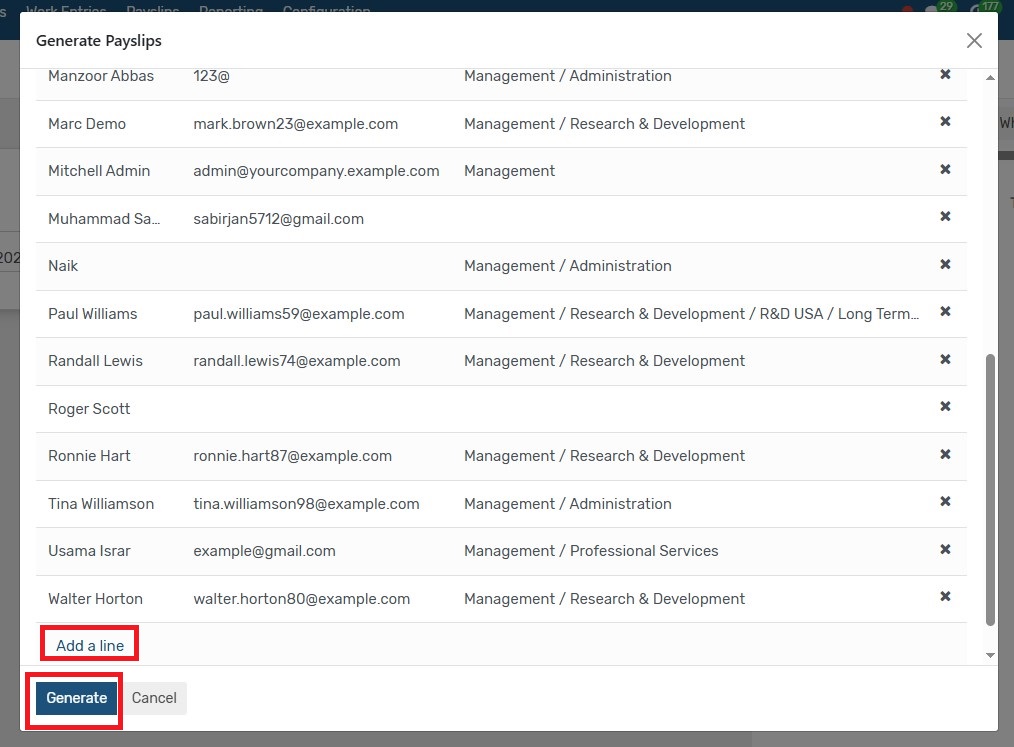
14. In
Payroll → Pay slips → Batches, Create a new batch by clicking on "New".
Selecting the duration and then click on generate pay slips. It will select all
the employees of the selected company. Click on the add line to add more
employees. Then click on "Generate" and all the pay slips will be generated on one
click.
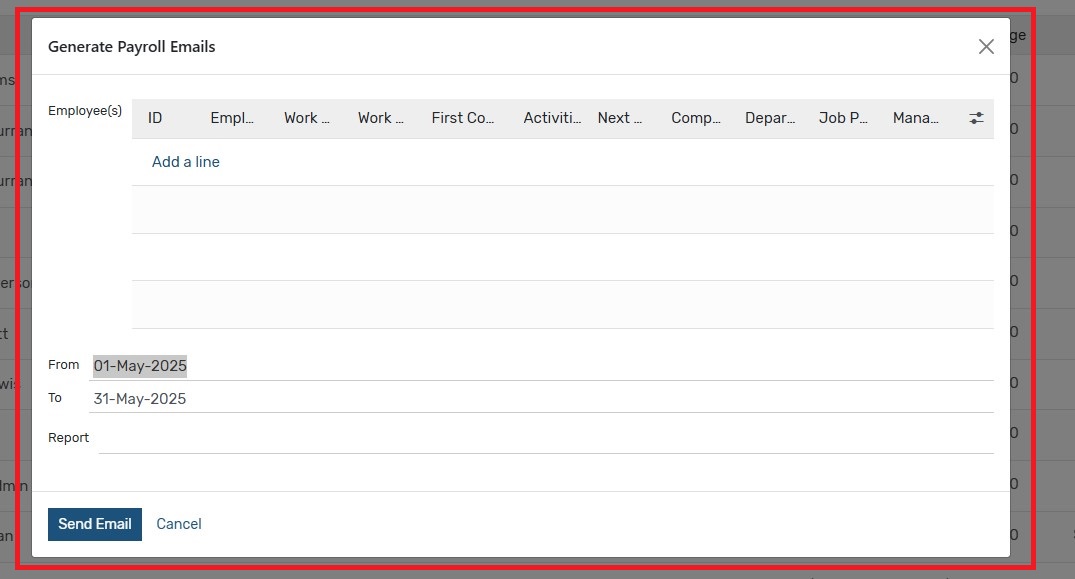
15. In Payroll → Payslips → Email, payslips can be emailed to employees.
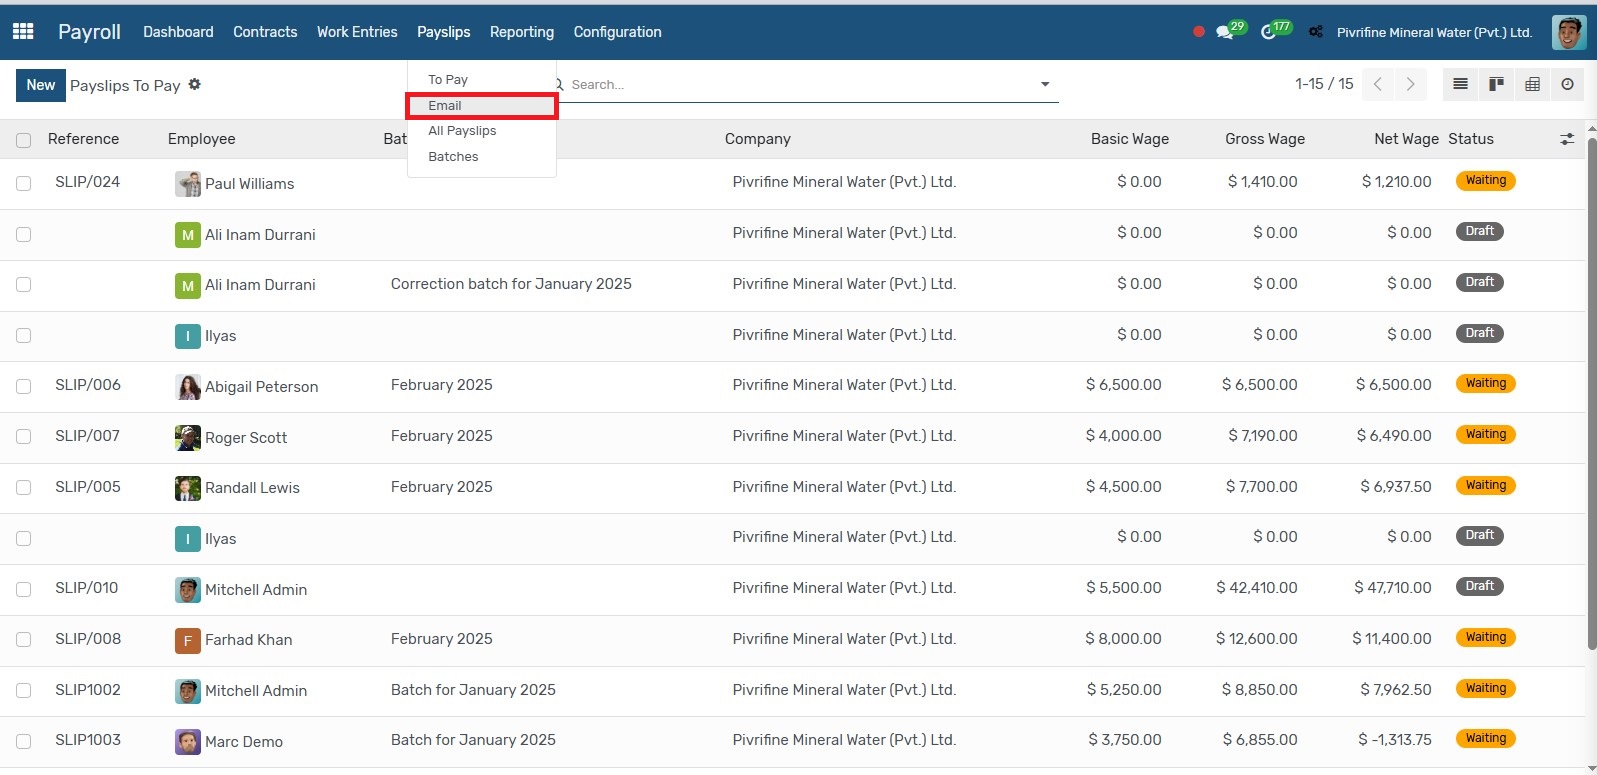
16. In
Payroll → Payslips → Email, When click on ‘Email’ menu, the following
wizard appears.Click on add line to add employees and select the duration of
payslips that needed to be email and click on send all the payslips will be
mailed in one click.
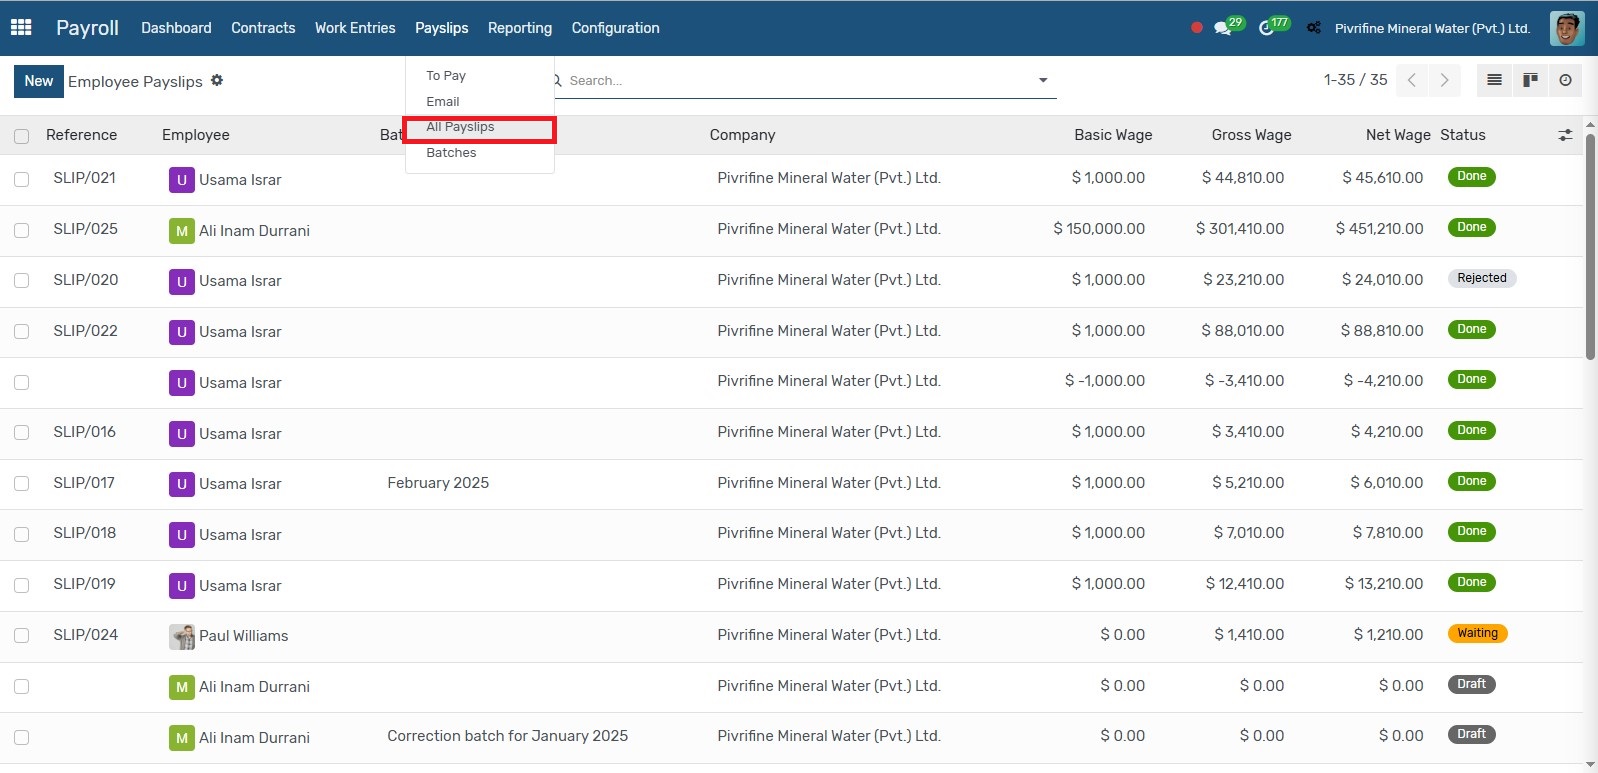
17. In
Payroll → Payslips → All Payslips, all generated payslips are
listed and can be reviewed.
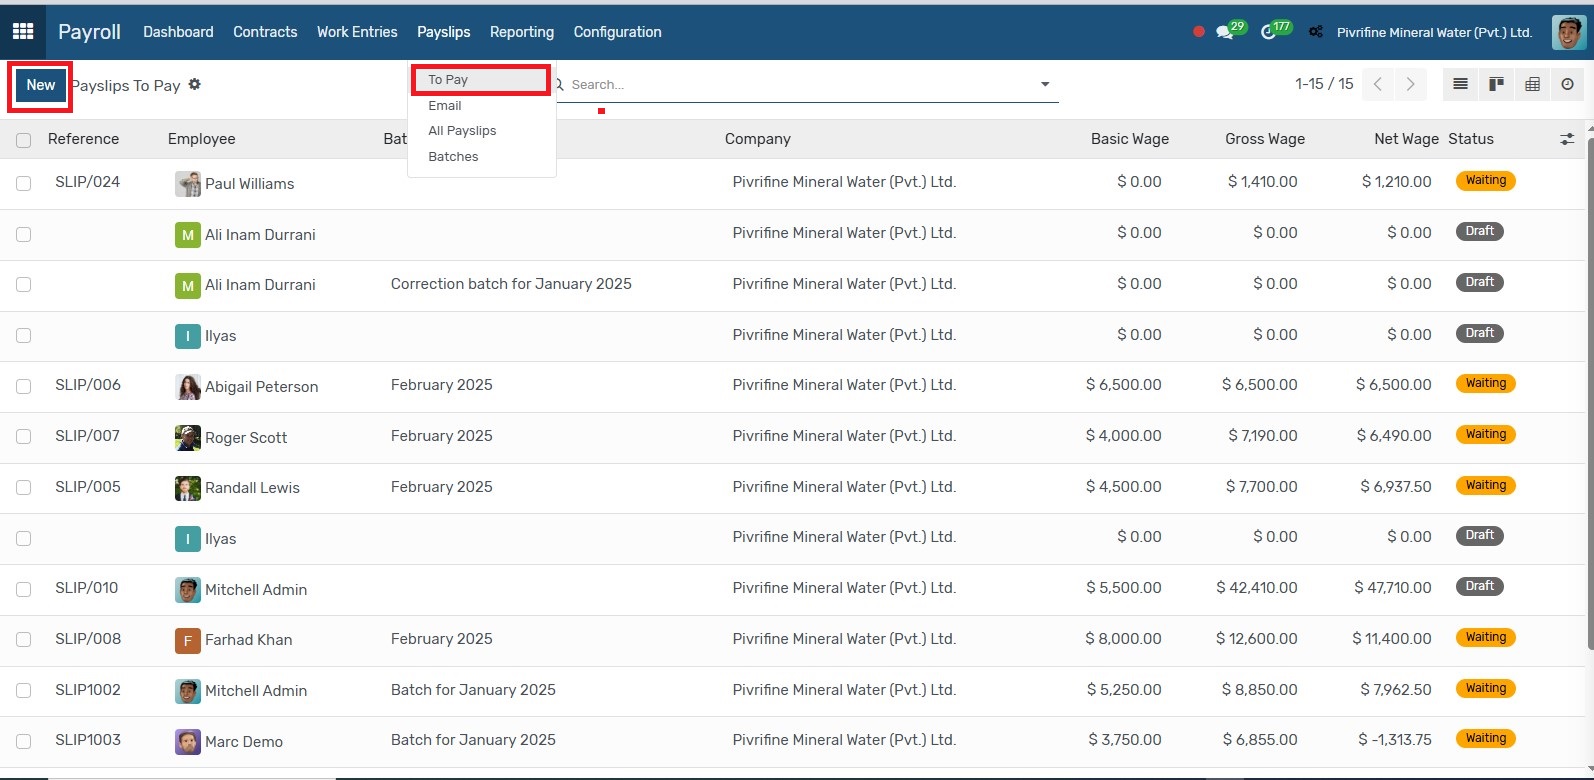
18. In
Payroll → Payslips → To Pay, individual payslips can be created by
clicking "New".
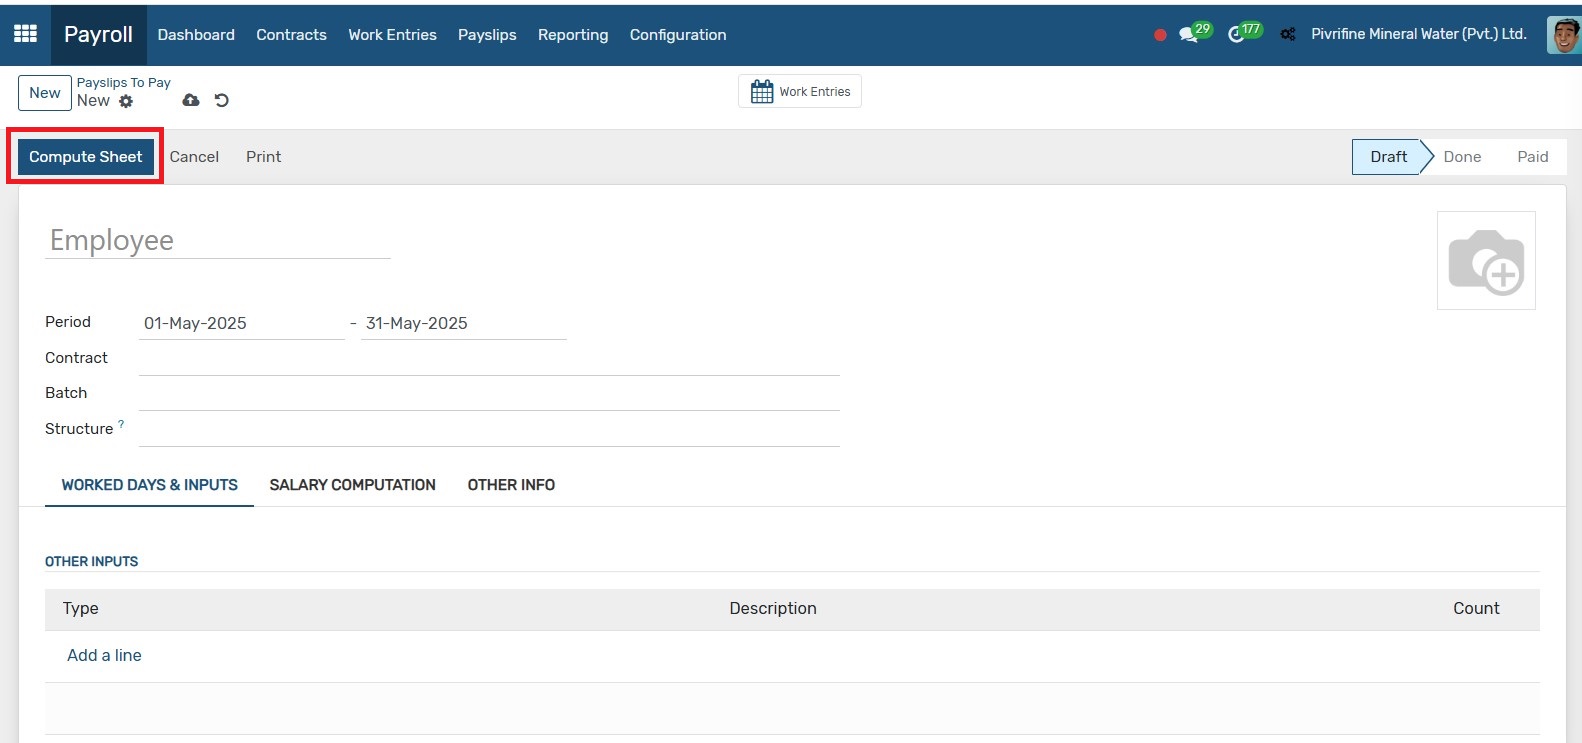
19. In
Payroll → Payslips → To Pay, click on "New" then select the
employee, period, and batch; click "Compute Sheet" to calculate the
salary. The computed salary can be then viewed in the Salary computation tab.
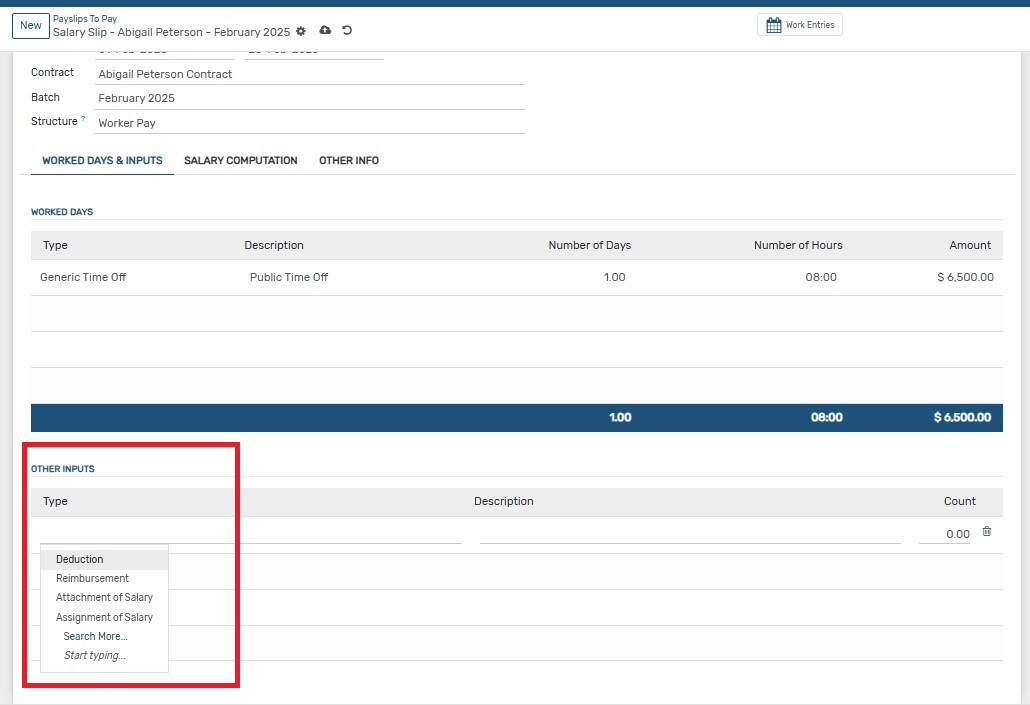
20. In Payroll → Payslips → To Pay, the Other Input Types created in Configuration are available for selection in the payslip form.
Previous Employee Attendance